3.2. Installing the Master Panel on Windows Server 2019/2016/2012 or Windows 10
NOT AVAILABLE IN SAAS
To install the Master Panel on Windows Server 2022, Windows Server 2019, Windows Server 2016, Windows Server 2012 or Windows 10, do the following:
1. Download the latest version of the MSI installation file for the Master Panel.
2. Run the MSI installation file to open the Master Panel Setup wizard.
3. On the Welcome to the Master Panel Setup Wizard page, click the Next button.

4. On the End-User License Agreement page, select the I accept the terms in the License Agreement checkbox, and then click the Next button.

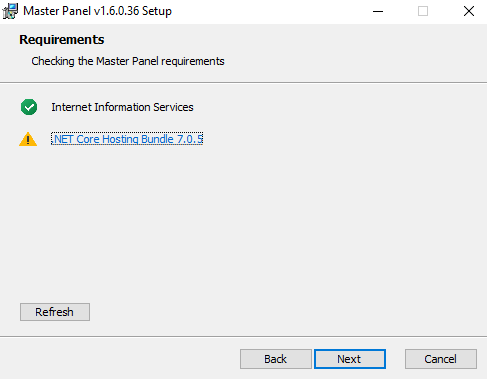
5. On the Requirements page, if any required components are not yet installed, a yellow warning triangle (
NOTE: If IIS needs to be installed or configured, please refer to the Syteca Quick Start Deployment Guide to:
• Turn on Internet Information Services (IIS)
• Configure Internet Information Services (IIS)
NOTE: If ASP.NET Core 7.0 Runtime (v7.0.0) - Windows Hosting Bundle needs to be installed, click the link shown next to the warning triangle (

6. After installing any missing components, click the Refresh button (in the bottom left).
7. Once the system meets all the requirements, it is then possible to continue with installation of the Master Panel, by clicking the Next button.

8. On the Destination Folder page, select the folder where the Master Panel will be installed, and click the Next button.

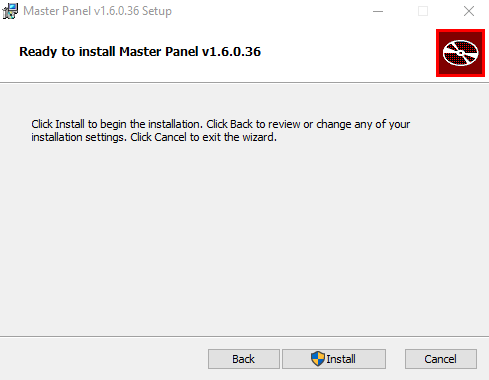
9. On the Ready to install Master Panel page, click the Install button to start the installation process.

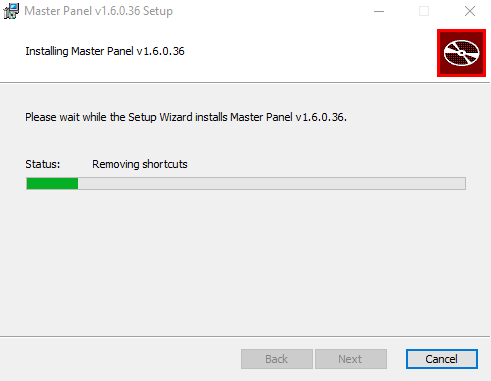
10. On the Installing Master Panel page, wait for the installation to complete.

11. On the Complete the Master Panel Setup Wizard page, click the Finish button to close the Master Panel Setup wizard.

12. The Master Panel is then installed and ready to be configured.
