Adding the Self-Signed Certificate to Trusted Root Certification Authorities
NOT AVAILABLE IN SAAS
Before adding a self-signed certificate to Trusted Root Certification Authorities, it first needs to be exported. For purchased certificates that were issued for your computer, this procedure is not required.
To add the certificate to the Trusted Root Certification Authorities, do the following:
1. Press Windows+R, and enter "mmc" in the Run window that opens, and then press Enter.
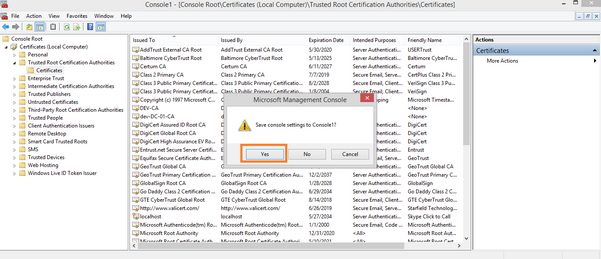
2. In the User Account Control window that opens, click Yes.
3. In the Console window, select File > Add/Remove Snap-in.

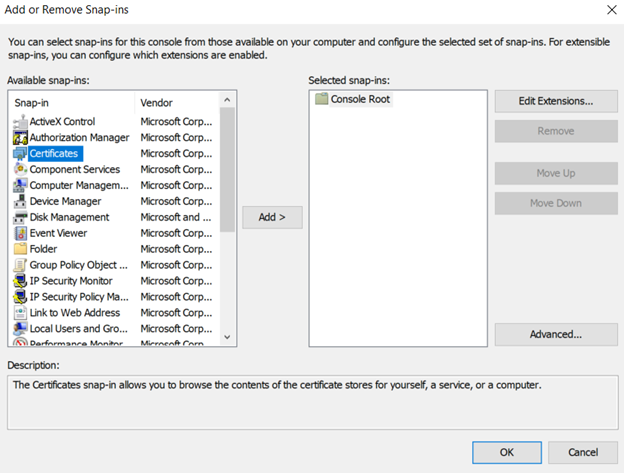
4. In the Add or Remove Snap-ins window that opens, select Certificates > Add.
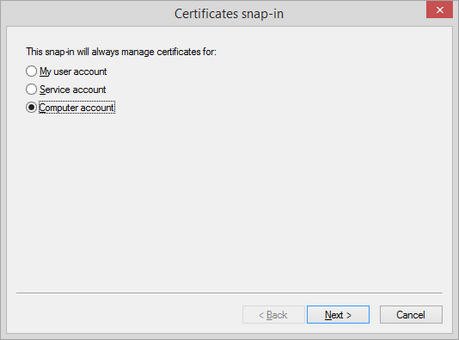
5. In the Certificates snap-in window that opens, select Computer account, and then click Next.
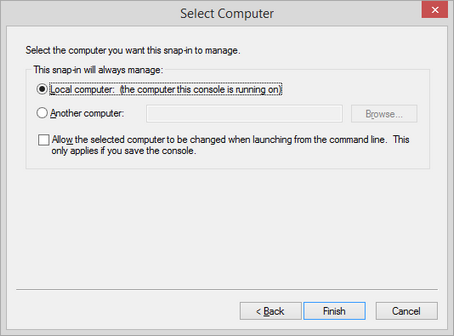
6. In the Select Computer window that opens, select Local computer: (the computer this console is running on), and then click Finish.
7. In the Add or Remove Snap-ins window, click OK.
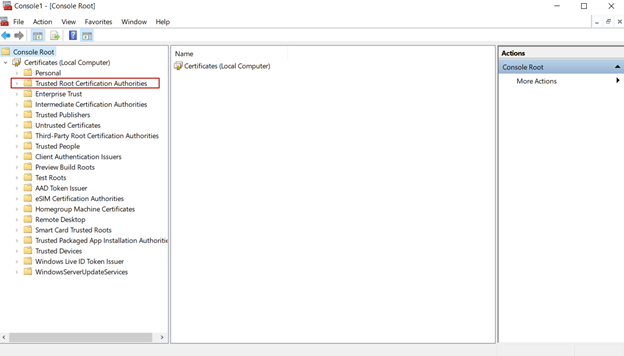
8. In the Console window, expand the Certificates (Local computer) node.
9. In the Certificates (Local computer) tree-view, find the Trusted Root Certification Authorities node.
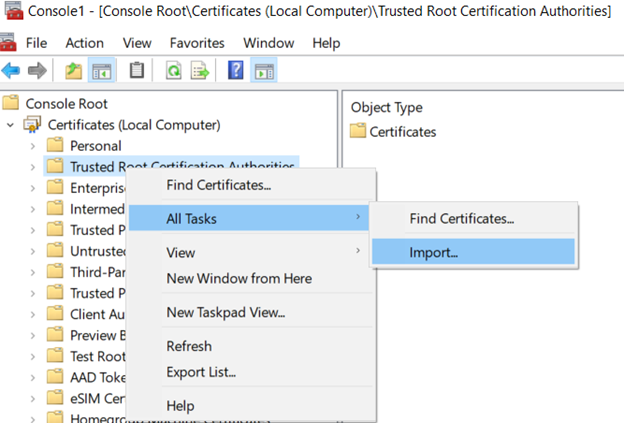
10. Right-click on the Trusted Root Certification Authorities node, and then select All Tasks > Import in the context menu.
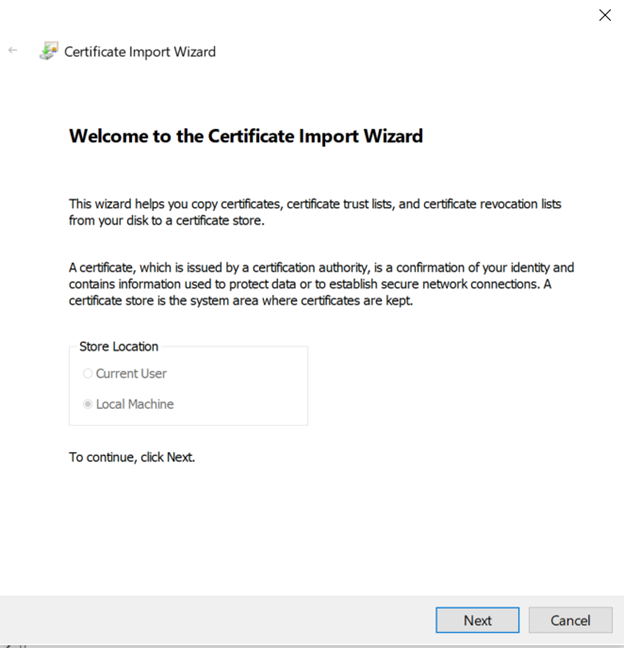
11. The Certificate Import Wizard opens.
12. On the Welcome to the Certificate Import Wizard page, click Next.
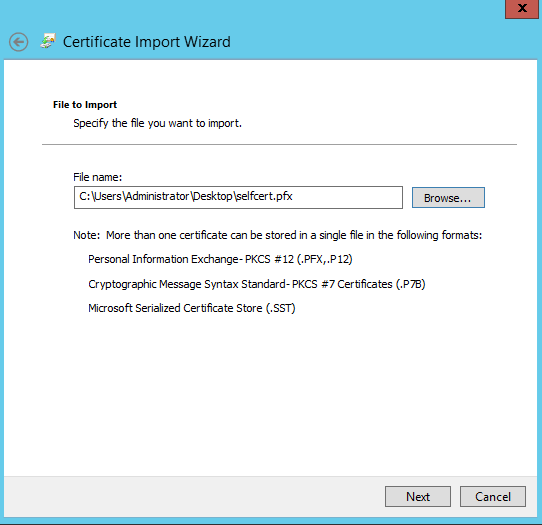
13. On the File to Import page, click the Browse button to find the certificate to be imported, and then click Next.
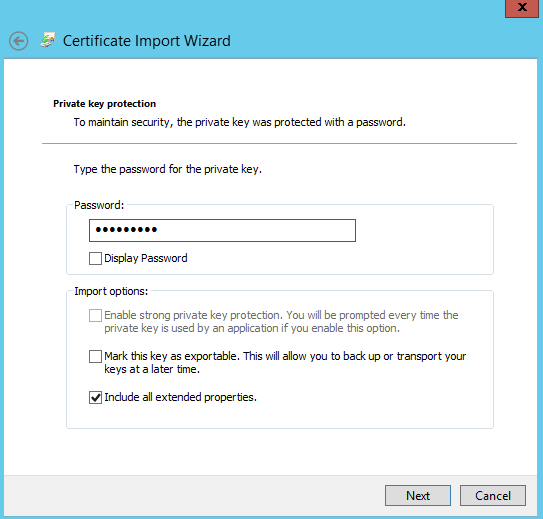
14. On the Private key protection page, enter the certificate password, and then click Next.
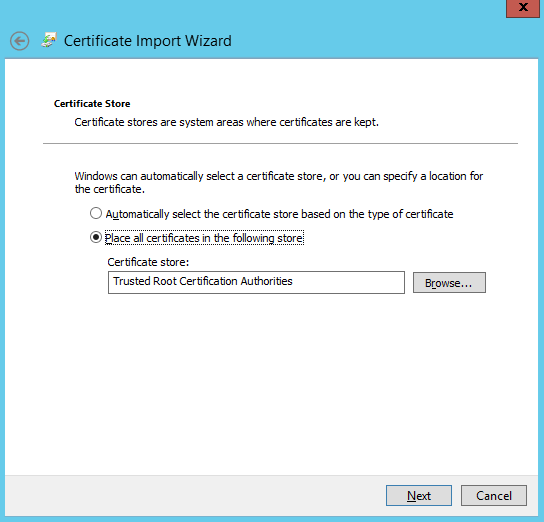
15. On the Certificate Store page, click Next.
16. On the last page of the Certificate Import Wizard, click Finish to complete importing the certificate.
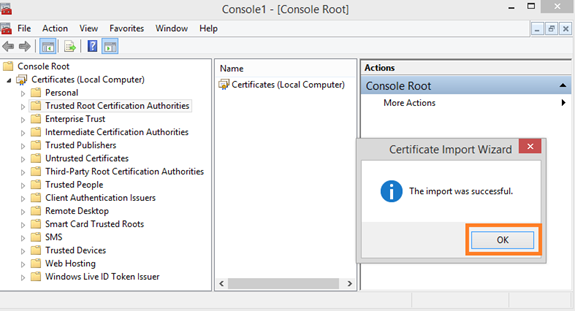
17. In the confirmation message, click OK.
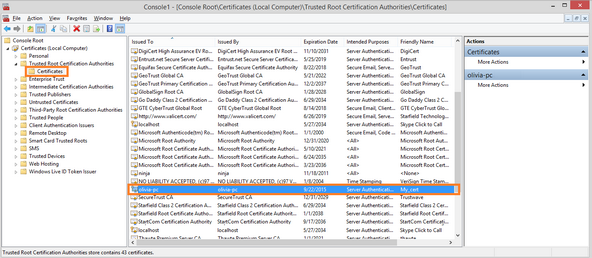
18. The certificate has now been imported and is displayed in the Console window in the Certificates node.
NOTE: The Issued To field contains the name of the computer on which the Management Tool will be installed, and you have to use the same name in the address bar of your browser to open the Management Tool.
19. Close the Console window.