
Configuring the PostgreSQL Database
NOT AVAILABLE IN SAAS
Table of Contents
Step 1. Log in to pgAdmin as "postgres"
Step 2. Create a New User
1. In the Browser pane, expand the Databases sub-node.
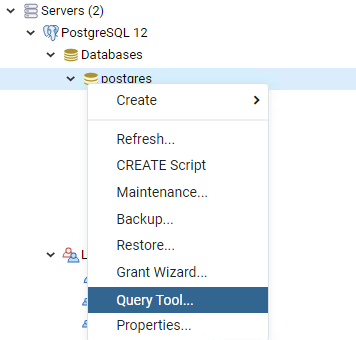
2. In the Databases sub-node, right-click on postgres, and select Query Tool.

3. In the Query Editor window, enter the following statement to create a user:
CREATE ROLE username WITH
	LOGIN
	NOSUPERUSER
	NOCREATEDB
	NOCREATEROLE
	INHERIT
	NOREPLICATION
	CONNECTION LIMIT -1
	PASSWORD 'password';
4. To execute the statement, click the Execute icon or press F5.
Step 3. Create an Activity Database and Bind it to the User Created
1. In the Browser pane, expand the Databases sub-node.
2. In the Databases sub-node, right-click on postgres, and select Query Tool.

3. In the Query Editor window, enter the following statement to create an activity database and bind it to the user created:
CREATE DATABASE ekranactivitydb
    WITH
    OWNER = username
    ENCODING = 'UTF8'
    CONNECTION LIMIT = -1;
4. To execute the statement, click the Execute icon or press F5.
Step 4. Configure the Activity Database
1. In the Browser pane, expand the Databases sub-node.
2. In the Databases sub-node, right-click on ekranactivitydb, and select Query Tool.
3. In the Query Editor window, enter the following statement to grant permissions to the user, create the main schema used in Syteca, set up the dbo as a default schema, and create the pgcrypto extension:
GRANT ALL ON DATABASE ekranactivitydb TO username;

CREATE SCHEMA dbo
    AUTHORIZATION username;

GRANT ALL ON SCHEMA dbo TO username;

ALTER DATABASE ekranactivitydb
    SET search_path TO dbo;

CREATE EXTENSION pgcrypto SCHEMA dbo;
4. To execute the statement, click the Execute icon or press F5.
Step 5. Create a UBA Database and Bind it to the User Created
1. In the Browser pane, expand the Databases sub-node.
2. In the Databases sub-node, right-click on postgres, and select Query Tool.
3. In the Query Editor window, enter the following statement to create a UBA database and bind it to the user created:
CREATE DATABASE ekranubadatabase
    WITH
    OWNER = username
    ENCODING = 'UTF8'
    CONNECTION LIMIT = -1;
4. To execute the statement, click the Execute icon or press F5.
Step 6. Grant Permissions for the UBA Database to the User Created
1. In the Browser pane, expand the Databases sub-node.
2. In the Databases sub-node, right-click on ekranubadatabase, and select Query Tool.
3. In the Query Editor window, enter the following statement to grant permissions to the user:
GRANT ALL ON DATABASE ekranubadatabase TO username;4. To execute the statement, click the Execute icon or press F5.
Step 7. Create a Management Database and Bind it to the User Created
1. In the Browser pane, expand the Databases sub-node.
2. In the Databases sub-node, right-click on postgres, and select Query Tool.

3. In the Query Editor window, enter the following statement to create a management database and bind it to the user created:
CREATE DATABASE ekranmanagementdatabase
    WITH
    OWNER = username
    ENCODING = 'UTF8'
    CONNECTION LIMIT = -1;
4. To execute the statement, click the Execute icon or press F5.
Step 8. Grant Permissions for the Management Database to the User Created
1. In the Browser pane, expand the Databases sub-node.
2. In the Databases sub-node, right-click on ekranmanagementdatabase, and select Query Tool.
3. In the Query Editor window, enter the following statement to grant permissions to the user:
GRANT ALL ON DATABASE ekranmanagementdatabase TO username;4. To execute the statement, click the Execute icon or press F5.
Step 9. Create an Archived Database and Bind it to the User Created
1. In the Browser pane, expand the Databases sub-node.
2. In the Databases sub-node, right-click on postgres, and select Query Tool.
3. In the Query Editor window, enter the following statement to create an archived database and bind it to the created user:
CREATE DATABASE archivedb
    WITH
    OWNER = username
    ENCODING = 'UTF8'
    CONNECTION LIMIT = -1;
4. To execute the statement, click the Execute icon or press F5.
Step 10. Configure the Archived Database
1. In the Browser pane, expand the Databases sub-node.
2. In the Databases sub-node, right-click on archivedb, and select Query Tool.
3. In the Query Editor window, enter the following statement to grant permissions to the user, create the main schema used in Syteca, set up the dbo as a default schema, and create the pgcrypto extension:
GRANT ALL ON DATABASE archivedb TO username;

CREATE SCHEMA dbo
    AUTHORIZATION username;

GRANT ALL ON SCHEMA dbo TO username;

ALTER DATABASE archivedb
    SET search_path TO dbo;

CREATE EXTENSION pgcrypto SCHEMA dbo;
4. To execute the statement, click the Execute icon or press F5.
Step 11. Install Syteca Application Server Using the Database Created
1. Run the installation file (Syteca_Server.exe) to open the Syteca Setup wizard.
2. On the Welcome to the Syteca Setup page, click the Next button.
3. On the License Agreement page, carefully read the End User License Agreement, and then click the I agree button.
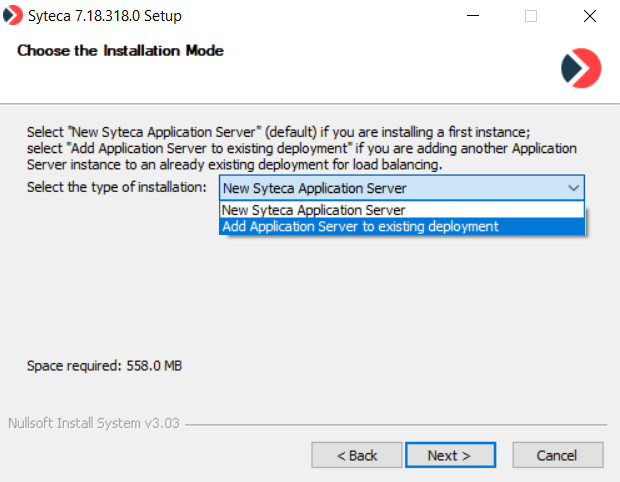
4. On the Choose the Installation Mode page, make sure the New Syteca Application Server option in the drop-down list is selected, and then click Next.
5. On the Choose Install Location page, enter the installation path or click Browse to navigate to the Application Server installation folder, and then click Next.

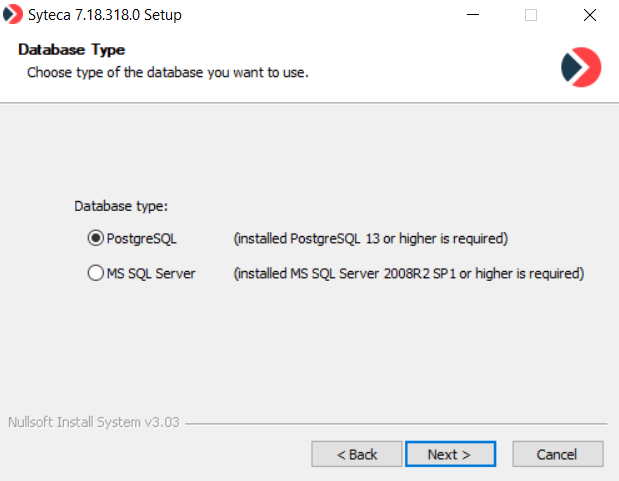
6. On the Database Type page, select the PostgreSQL option, and click Next.
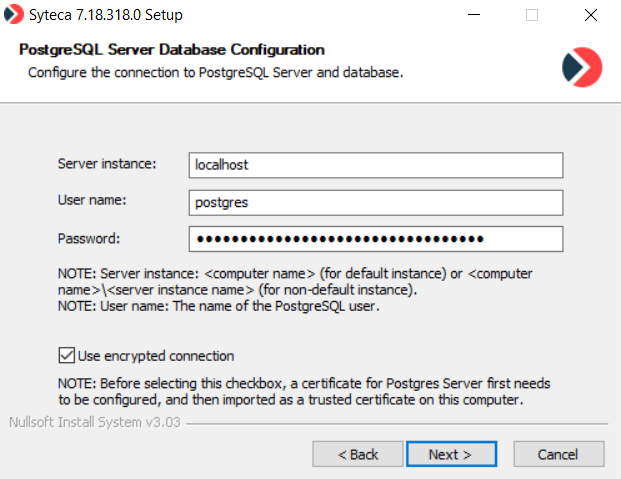
7. On the PostgreSQL Server Database Configuration page, define the connection parameters for the database created, and then click Next.
• Enter the name of the PostgreSQL Server instance. Optionally, you can define a custom PostgreSQL database port by entering its name after the Server instance name, separating them by a colon (e.g. <server_instance_name>:<port>).
• Enter the User name and password of the user created in Step 2 (Create a new user).
• Select the Use encrypted connection checkbox to use SSL encryption for the connection between the Application Server and the database.
NOTE: Before selecting this checkbox, a certificate for the database server first needs to be configured, and then imported as a trusted certificate on this computer.
8. On the Binary Data Location page, define the location to be used to store the binary data (i.e. screen captures) recorded by Syteca Clients.
NOTE: The SQL Database option is not recommended unless used for small deployments, due to the large amount of data that will be accumulated over time.
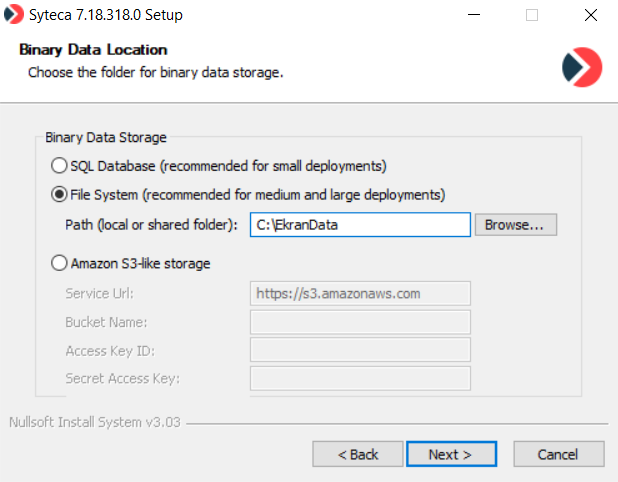
NOTE: More information can be found on the Editing the Database Parameters page, and for the "Amazon S3-like storage" option, more information can be found on the Configuring Syteca to Store Binary Data in Amazon S3 page.
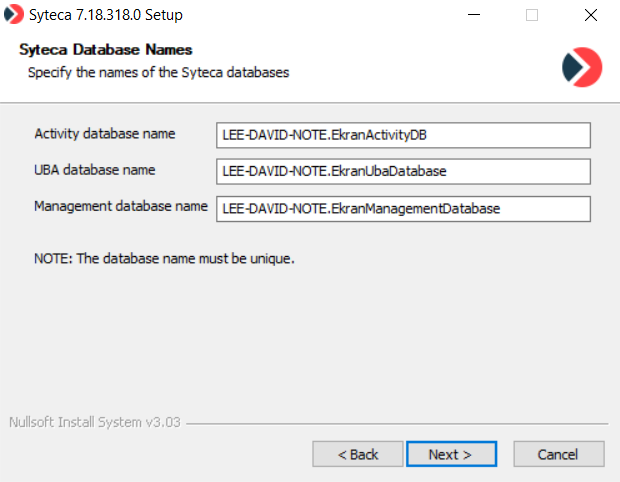
9. On the Syteca Database Names page, define unique names to be used for the Syteca databases.
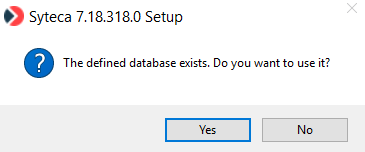
10. In the pop-up window that opens, click Yes to use the database (i.e. actually consisting of the 3 separate databases) created.
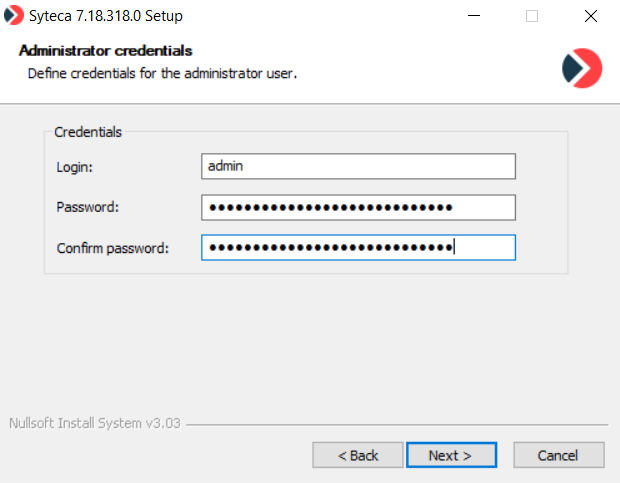
11. On the Administrator credentials page, define the credentials to be used for the administrator user of Syteca (i.e. the admin user of the built-in default tenant, who has full system permissions) in the corresponding fields as follows, and then click Next:
• Login: Optionally change the login name from the default name “admin” (where the login name can be from 5 to 50 characters long, and only contain letters and numbers, or can be an email address).
• Password and Confirm password: Enter a password (where the password must be at least 8 characters long, and contain at least one lowercase letter, one uppercase letter, one numeric character, and one special character, and cannot contain more than 3 consecutive identical characters).
NOTE: These credentials can be changed at any time later in the Management Tool (on the User Mangement page) by editing the administrator user.
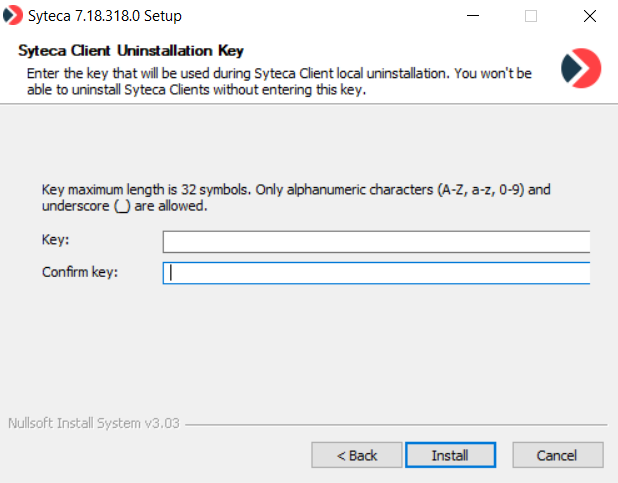
12. On the Syteca Client Uninstallation Key page, enter a key that will be used for uninstalling the Client locally, and click Next.
13. Click Install.
14. The installation process starts, and its progress is displayed on the Installing page.
15. When installation is complete, click Finish to exit the Setup wizard.