
How Can I Fix the ERR_SSL_KEY_USAGE_INCOMPATIBLE Error in Recent Versions of Chrome Browser?
Google Chrome requires the Digital Signature parameter to be added to the certificate in recent versions of this browser (specifically 119.0.6045.160 and higher). You will see the error shown in the screenshot below, when trying to log in to the Management Tool using the Chrome browser if the Digital Signature parameter is not added to your self-signed certificate.

To fix this error, you can create a trusted self-signed certificate by following the steps below.
Table of Contents
1. Create a Trusted Self-Signed Certificate
To create a trusted self-signed certificate, do the following:
1. Run Windows PowerShell
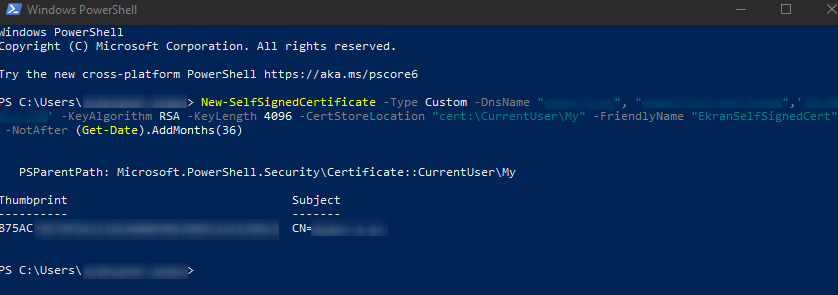
2. Enter the following command:
New-SelfSignedCertificate -Type Custom -DnsName "server", "server.domain.local",'192.168.0.1' -KeyUsage "DigitalSignature","KeyEncipherment","KeyAgreement" -KeyAlgorithm RSA -KeyLength 4096 -CertStoreLocation "cert:\CurrentUser\My" -FriendlyName "EkranSelfSignedCert" -NotAfter (Get-Date).AddMonths(36) -Subject "EkranCA"
Where the following parameters in the command are defined as follows:
• DnsName: Specify all the names that are used for the server computer, i.e. hostname, domain name, and IP address.
• KeyLength: You can use at least a length of 2048, but some browsers will show a warning if the KeyLength is less than 4096.
• CertLocation: The place where the certificate will be stored when created (the only available options are "LocalMachine\My" or "CurrentUser\My").
• FriendlyName: Used to specify a friendly name for the newly created certificate.
• NotAfter: Specify the expiration date for the certificate.
3. When the command is executed, you will then see the following in PowerShell:
2. Export the Trusted Self-Signed Certificate
To export the certificate, do the following:
1. Press Windows+R, and enter "mmc" in the Run window that opens, and then press Enter.
2, In the User Account Control window that opens, click Yes.
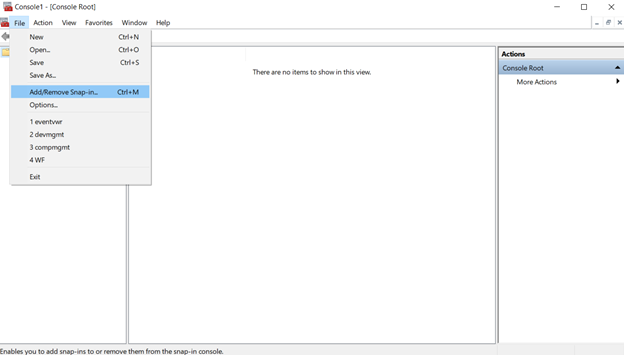
3. In the Console window, select File > Add/Remove Snap-in.
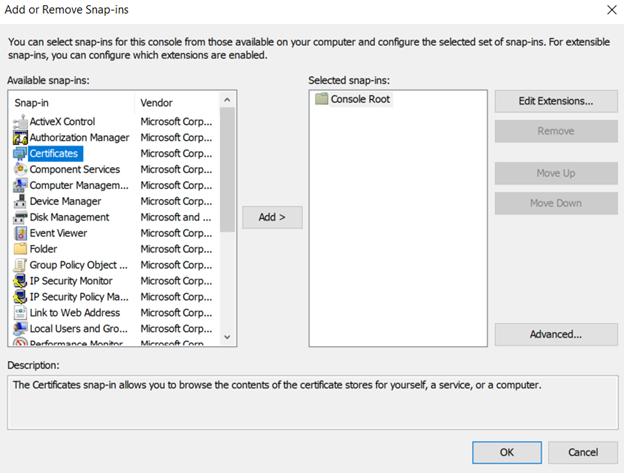
4. In the Add or Remove Snap-ins window that opens, select Certificates, and then click the Add button.
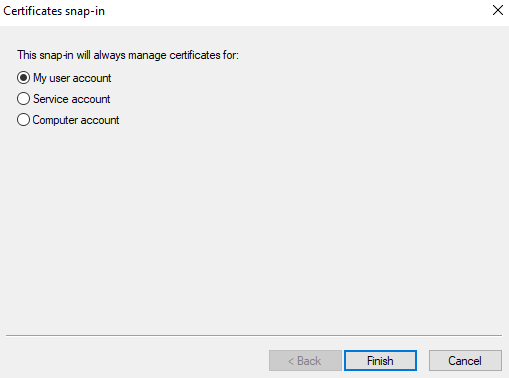
5. In the Certificates snap-in window that opens, select My user account, and then click Next.
6. Click Certificates - Current User > Personal > Certificates.

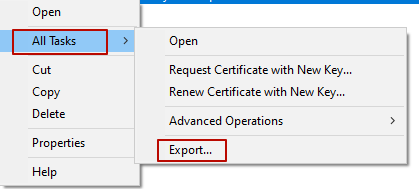
7. Right-click on your certificate, and select the All Tasks > Export option.
8. On the Welcome to the Certificate Export Wizard page, click Next.
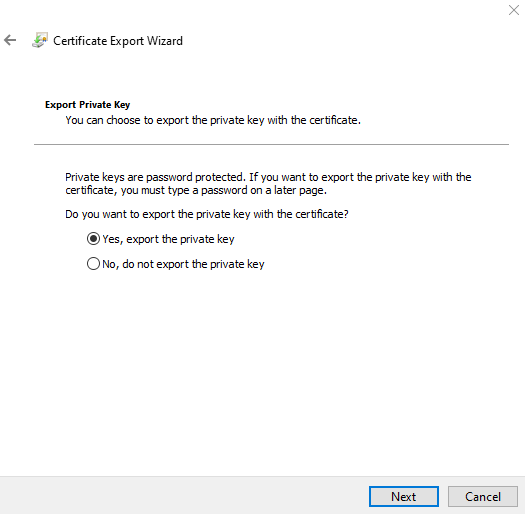
9. On the Export Private Key page, select the Yes, export the private key option, and then click Next.
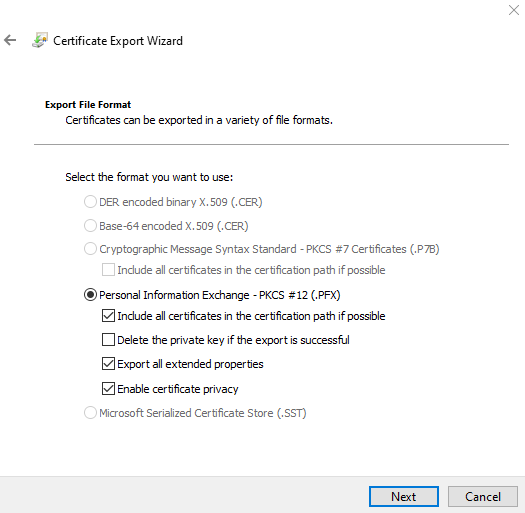
10. On the Export File Format page, select the following checkboxes, and then click Next.
• Include all certificates in the certification path if possible
• Export all extended properties
• Enable certificate privacy
11. On the Security page, enter (and confirm) a password for the certificate, and then click Next.

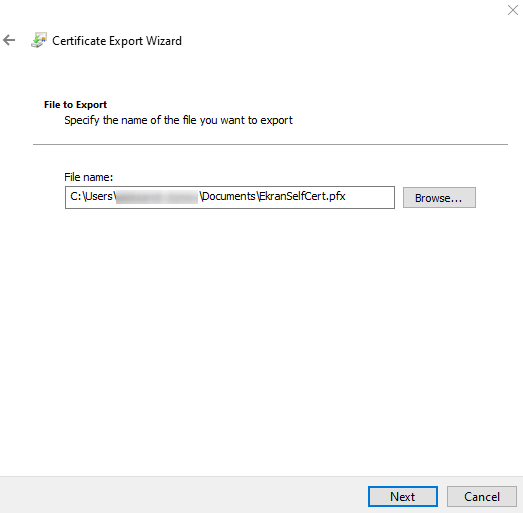
12. On the File to Export page, click Browse, and select the location where the certificate will be exported to, and enter a name for the certificate, and then click Next.
13. On the last page of the Certificate Export Wizard, click Finish to complete exporting the certificate.
14. In the confirmation message, click OK.
3. Add the Trusted Self-Signed Certificate to the Trusted Certificates
To add the certificate to Trusted Root Certification Authorities, do the following:
1. Open the folder where the certificate was exported to.
2. Right-click the certificate, and select the Install PFX option.
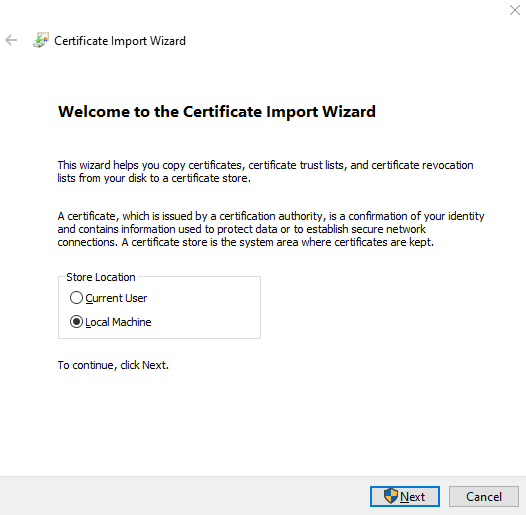
3. On the Welcome to the Certificate Import Wizard page, select Local Machine, and then click Next.
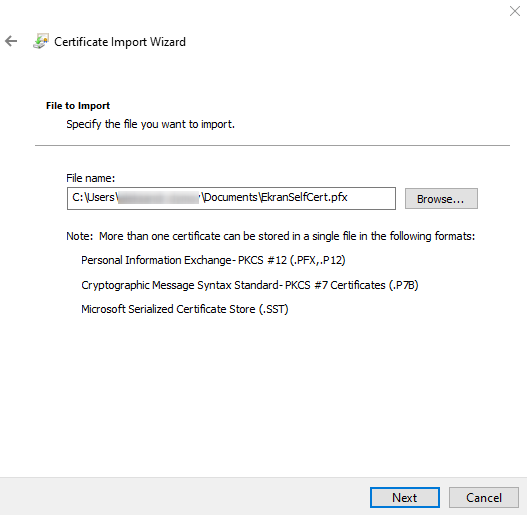
4. On the File to Import page, click Next.
5. On the Private key protection page, enter the certificate password, and then click Next.

6. On the Certificate Store page, select the Place all certificates in the following store option, and then select Trusted Root Certification Authorities, and click Next.

7. On the last page of the Certificate Import Wizard, click Finish to complete importing the certificate.
8. In the confirmation message, click OK.
4. Configure Internet information Services (IIS)
To use the certificate, do the following:
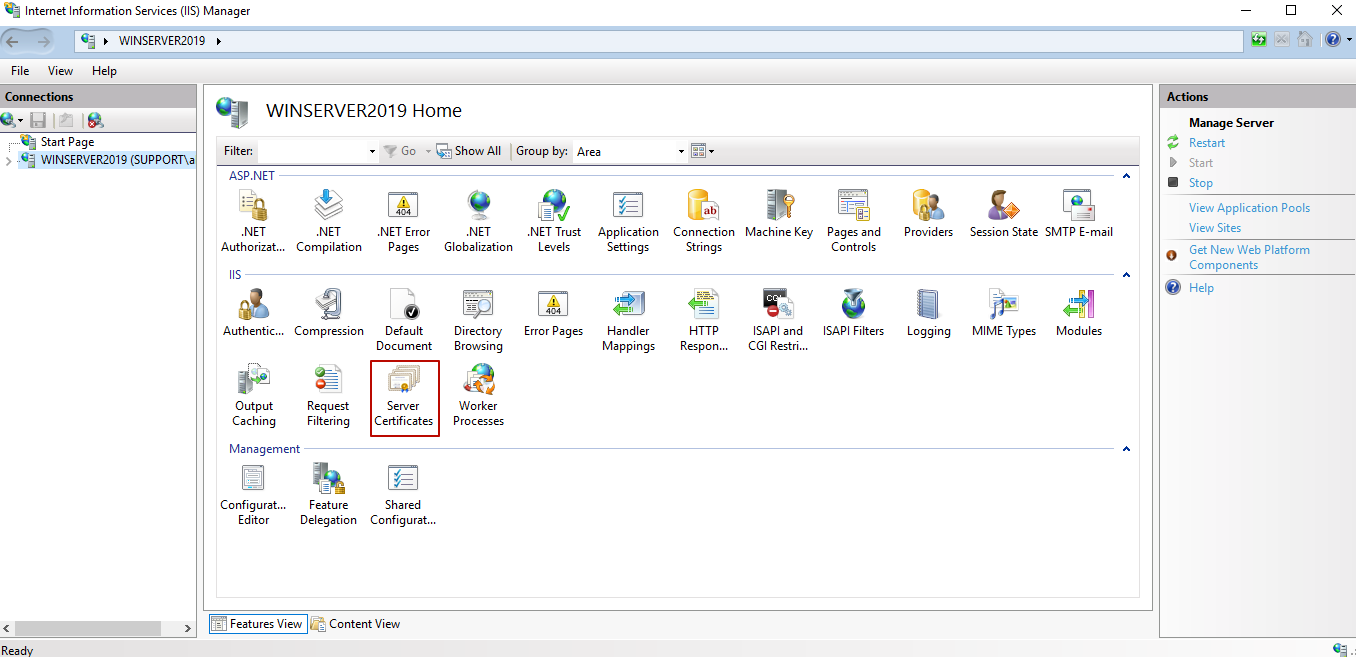
1. Open Internet information Services (IIS) Manager.
2. In the Connections pane (on the left), expand the node with the name of the target computer, and select Server Certificates (in the pane in the center).
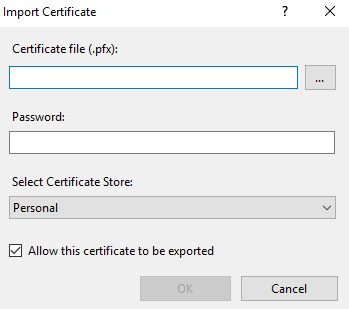
3. On the Server Certificates page, click Import (in the Actions pane on the right).
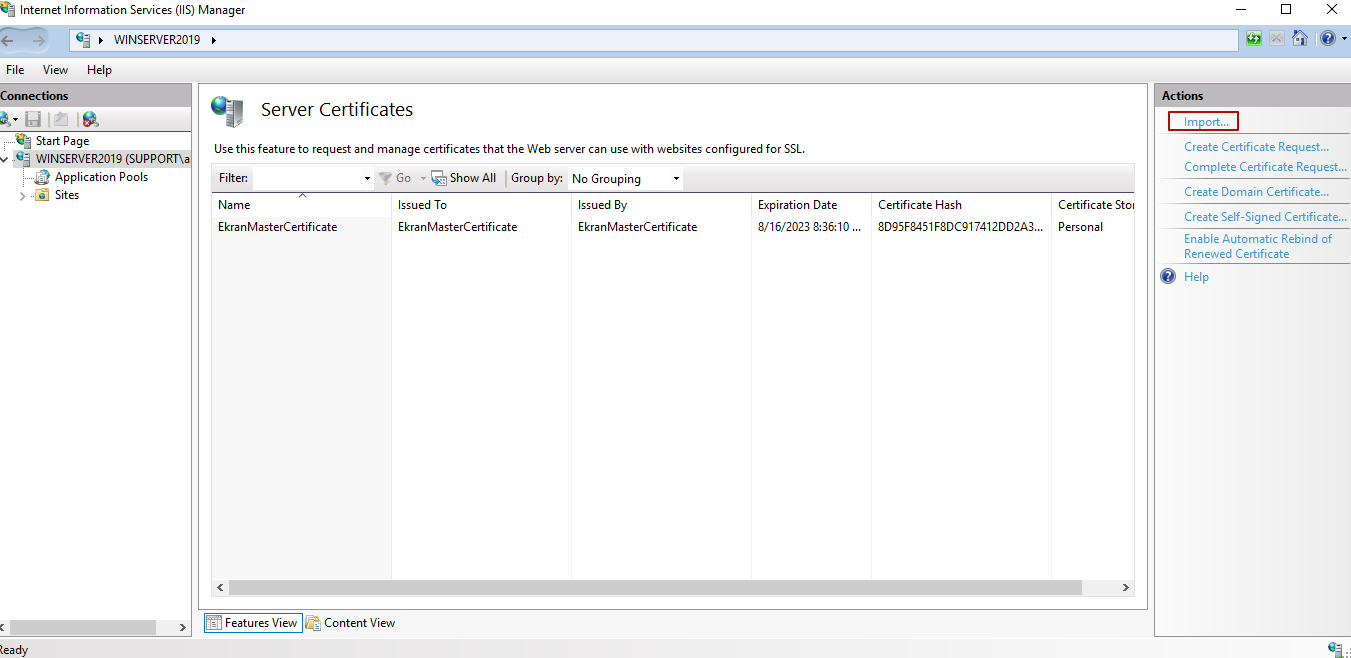
4. in the Import Certificate pop-up window that opens, select your certificate, and enter its password, and then click OK.
5. In the Connections pane (on the left), expand the node with the name of the target computer, and then expand the Sites node underneath it, and select Default Web Site to open the Default Web Site Home pane (in the center).

6. In the Actions pane (on the right), click Bindings to open the Site Bindings window.
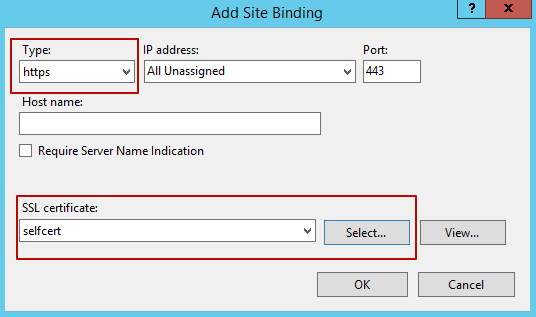
7. Double-click on the https record.

8. In the Edit Site Binding window that opens, check that the Type is https, and select your newly imported EkranSelfCert certificate in the SSL certificate field.
9. In the Site Bindings window, click Close, and Internet Information Services is then fully configured.
10. Restart the Chrome browser, and you should then be able to open the Management Tool.