
Installing Linux Clients Using the Installation File
This type of installation allows you to install Linux Clients locally from the command line by using the downloaded SytecaLinuxClient.tar.gz installation package.
On the Solaris operating system, before installing the Client, you need to first update the bash.
NOTE: For Linux Solaris and AIX distributions, GNU Bash 3.2.25(1) or higher must be installed.
To install the Linux Client on a target computer running the Linux operating system from the command line, do the following:
1. Copy the installation package to any folder (and make sure you use the correct installation package (x64 or x86)).
2. Run the Terminal.
3. Using the Terminal, navigate to the folder with the installation package by entering the following command:
$ cd <Path_to_folder>
4. Unpack the installation package by entering the following command:
$ tar xvfz <Installation_package_name>
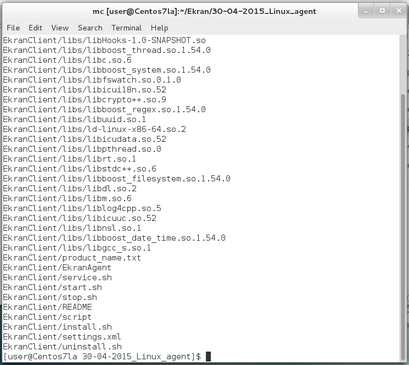
5. Navigate to the unpacked EkranClient folder by entering the following command:
$ cd EkranClient
NOTE: The EkranClient folder contains the "install.sh" script used to install the Client.
6. Run the Linux Client installation script, specifying the Application Server name or Application Server IP address and the port used for connection to the Application Server (port 9447 is recommended) by entering the following command:
$ sudo ./install.sh <Server_name_or_Server_IP_address> <Server_port>
NOTE: For SaaS deployments, instead of <Server_name_or_Server_IP_address>, use the hostname or IP address of the load balancer of the Syteca proxy server, in the command:
$ sudo ./install.sh <Hostname_or_IP_address_of_the_load_balancer_on_the_Syteca_proxy_server> 9447
If Multi-Tenant mode is enabled, also specify the Tenant Key parameter and the Tenant Key value for the required tenant by entering the following command:
$ sudo ./install.sh <Server_name_or_Server_IP_address> <Server_port> -tenantKey <Tenant_key_value>
NOTE: In Multi-Tenant mode, the tenant key can be copied from the Management Tool (on the Tenant Management page) by the administrator of the built-in default tenant. If a tenant key is not specified, the Client will be installed on the built-in default tenant.
Optionally, to enable monitoring of the GUI for X Window System, also specify the X11 parameter, for example:
$ sudo ./install.sh 10.100.4.182 9447 -withX11 - The Client connects to the Application Server with IP address 10.100.4.182 through port 9447, and monitoring of the GUI for X Window System is not enabled.
NOTE: For SaaS deployments, instead of 10.100.4.182, use the hostname or IP address of the load balancer of the Syteca proxy server, in the command:
$ sudo ./install.sh <Hostname_or_IP_address_of_the_load_balancer_on_the_Syteca_proxy_server> 9447 -withX11
If Multi-Tenant mode is enabled, also specify the Tenant Key parameter and the Tenant Key value for the required tenant by entering the following command:
$ sudo ./install.sh Server1 9447 -withX11 -tenantKey 90807A10-DF80-45EA-A7DE-A550B55F548A - The Client connects to the Application Server with the name Server1 through port 9447, and monitoring of the GUI for X Window System is enabled. The Client belongs to the tenant with the specified tenant key.
7. After the Client is installed, it will start monitoring a new session the next time a user logs in.
8. The Linux Client installed is displayed in the list of Clients on the Client Management tab in the Management Tool.