Mounting Amazon S3 as Network File Storage for Use with Binary Data Recorded by Syteca
NOT AVAILABLE IN SAAS
The article describes how to mount a file share and configure the storage of Syteca binary data in Amazon S3 cloud storage using network file storage.
NOTE: For Syteca version 7.1, or later, it is recommended to instead use the new method now implemented and described on the Configuring Syteca to Store Binary Data in Amazon S3 page.
To configure the storage of Syteca binary data in Amazon S3 cloud storage using network file storage, follow the steps below (in sequence).
NOTE: Information about mounting and configuring Amazon S3 storage in general can be found in this article.
Table of Contents
1. Mounting Your NFS File Share
To mount an NFS file share, do the following:
1. Log in to your EC2 Windows VM where the Syteca Application Server is installed (this VM should have the same VPC and security group as your getaway).
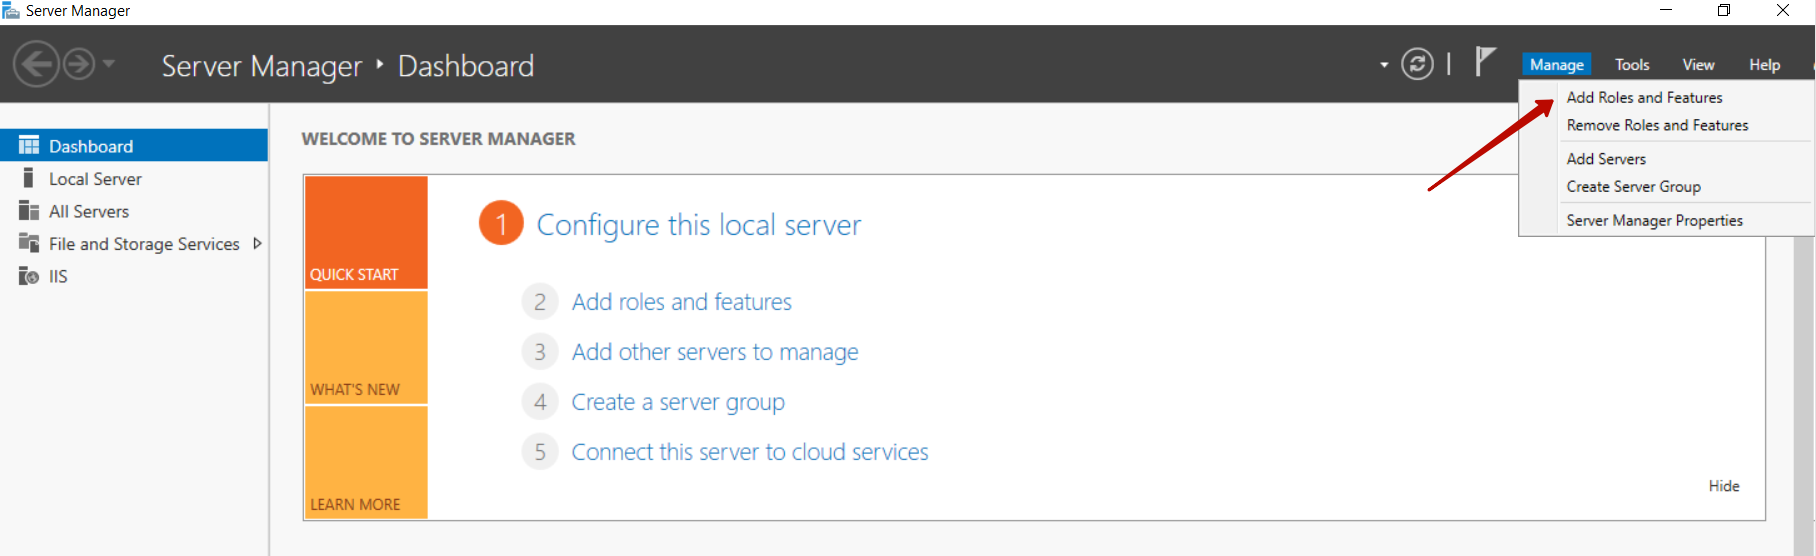
2. Open Server Manager, and then click Manage, and select Add Roles and Features in the drop-down list.
3. Select Features, and then select the Client for NFS checkbox to enable this feature.
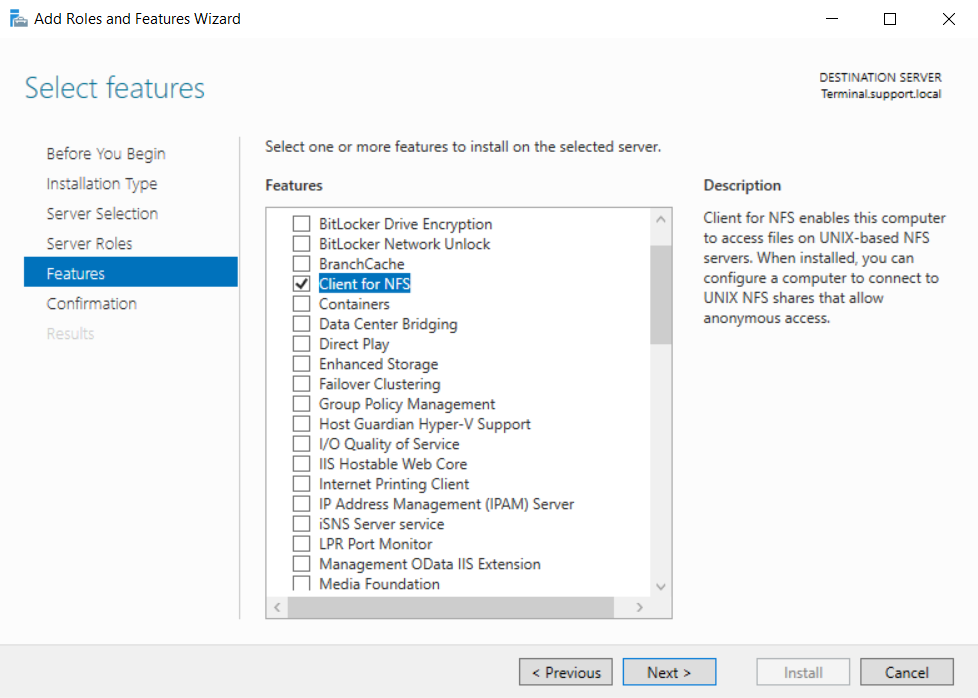
4. Complete installing the Client for NFS feature.
5. Create a batch file, e.g: C:\mount_nfs.bat
6. Open the Windows Command Prompt, and enter the following command:
echo%time% >> c:\mount_nfs_log.txt |
NOTE: You can copy the mount command from the Details section in your file share.
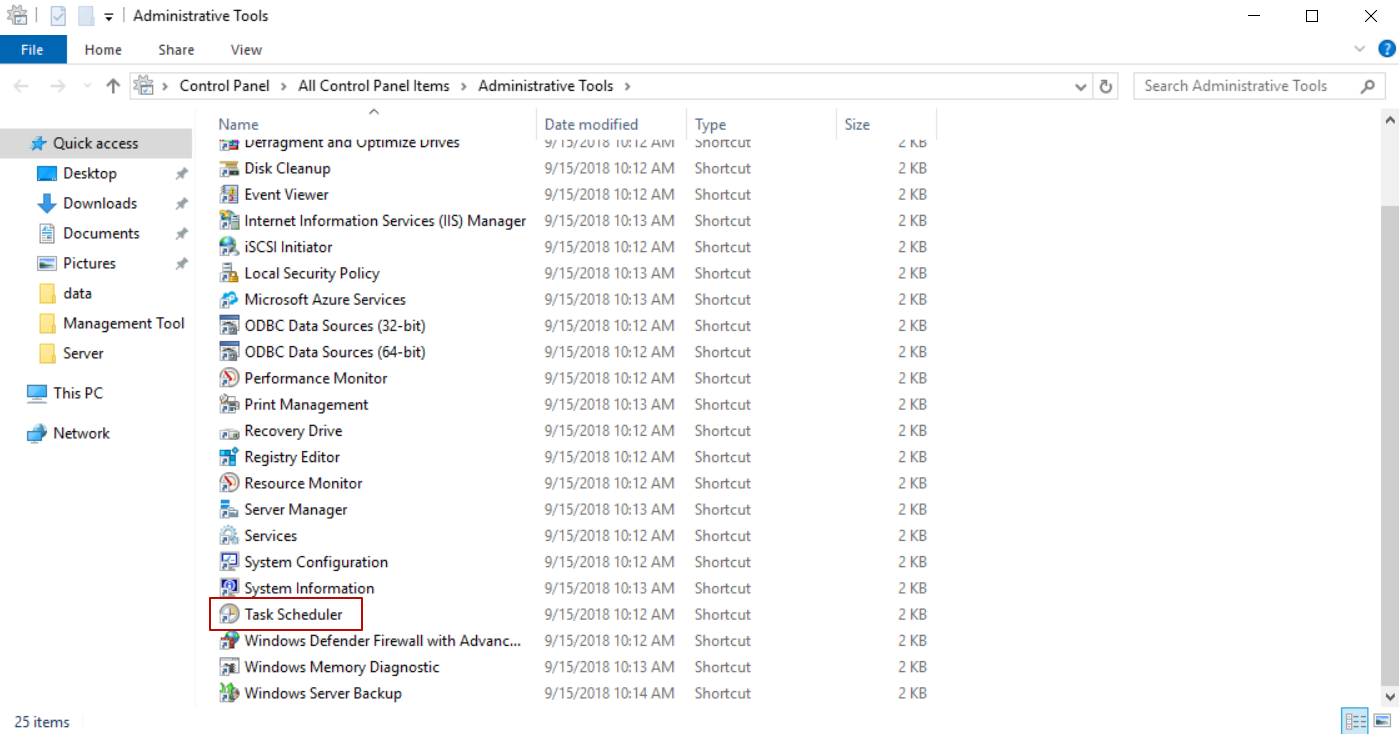
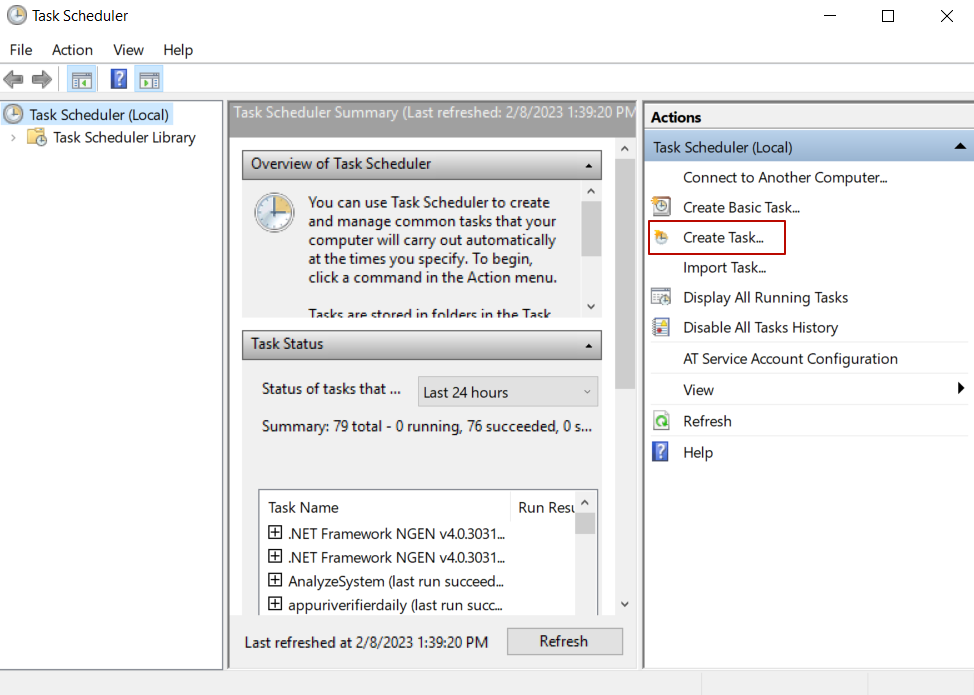
7. In Administrative Tools, open Task Scheduler.
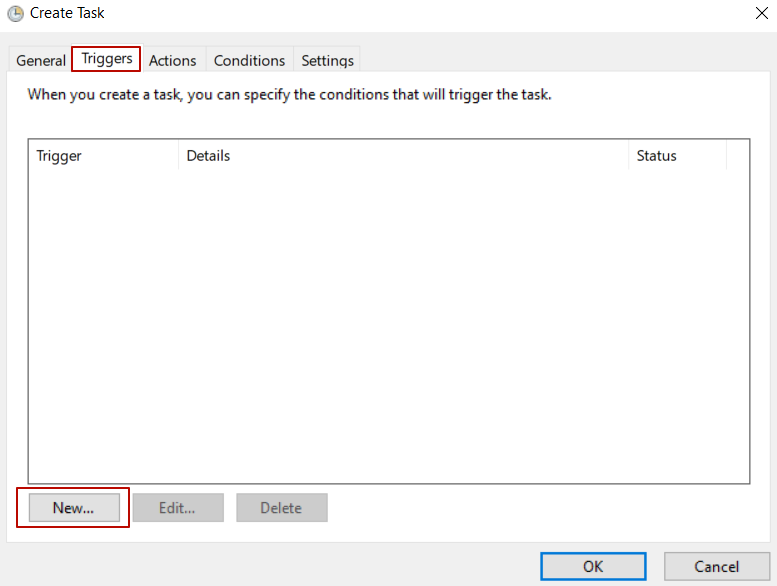
8. In the Actions pane, click Create Task…
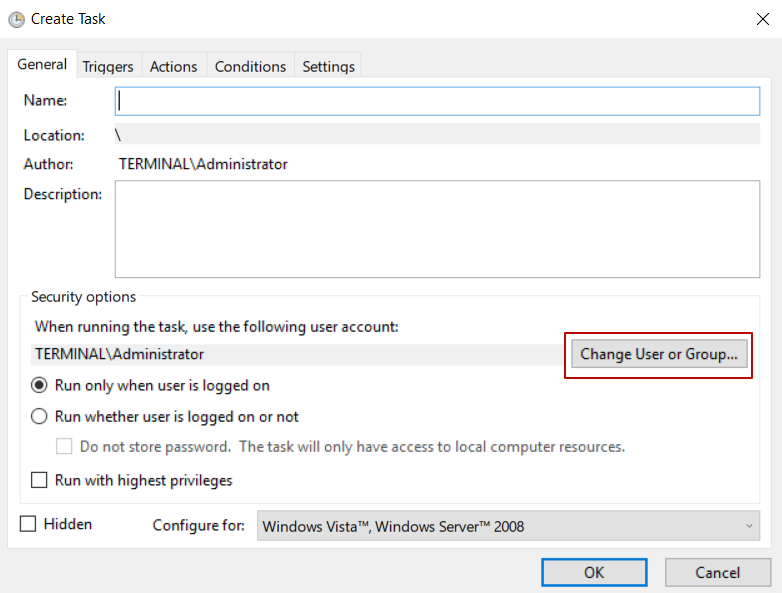
9. In the Create Task pop-up window, click Change User or Group...
10. Make sure From this location is set to the local computer name (to change it, click the Locations button, and select the local computer name).
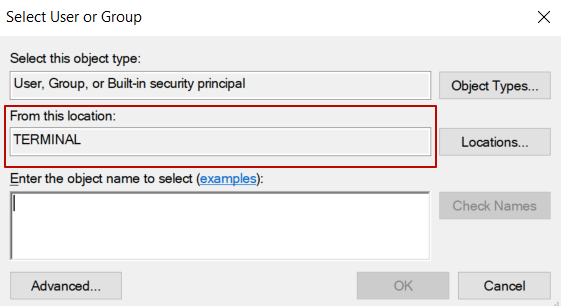
11. Enter SYSTEM in the Enter the object name to select (examples) field, and click OK to apply the changes (you will then see NT AUTHORITY\SYSTEM in the When running the task, use the following user account field).

12. Select the Actions tab, and click New.
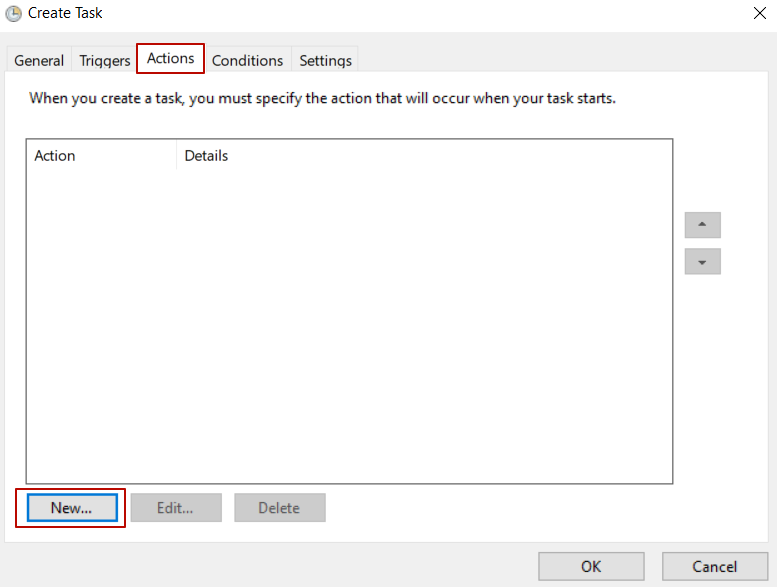
13. Click Browse, and select your C:\mount_nfs.bat file, and then click OK to apply the changes.
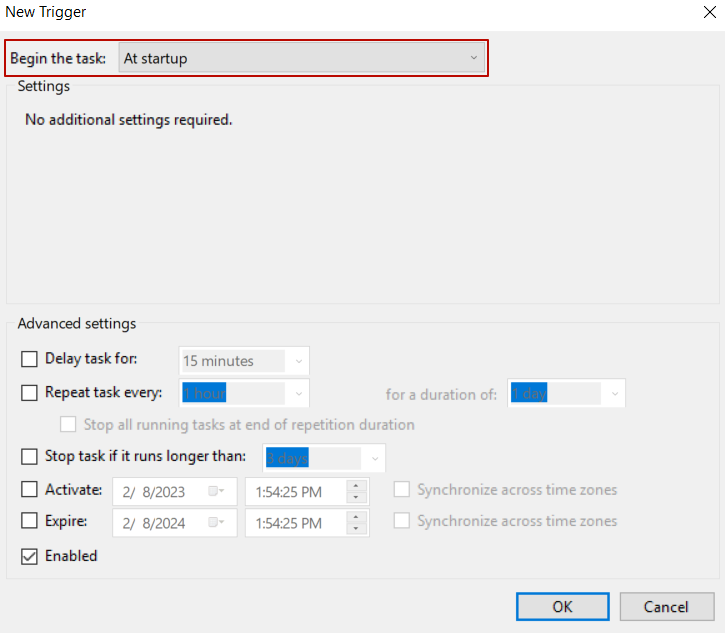
14. Select the Triggers tab, and click New.
15. In the Begin the task field, select the At startup option from the drop-down list, and then click OK to apply the changes.
16. Restart the Ekran System Application Server VM computer.
2. Mapping the Network Storage to be Used by the Amazon S3 Service
To map the network storage to be used by the Amazon S3 service, do the following:
1. Log in to your EC2 Windows VM where the Ekran System Application Server is installed.
2. Right-click on the Ekran System Server tray icon, and select Database Parameters.
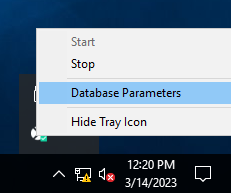
3. In the Database Parameters (DbSetupToolUI) application that opens, select the Binary Data Storage tab, and then select the mounted disk in the File System > Path field.
%20(SHOP).png?inst-v=362ca448-a20b-4783-93c2-f49186888f5c)
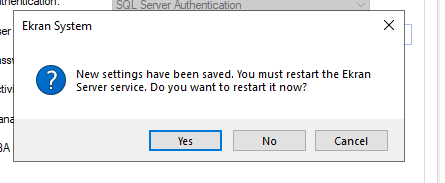
4. Click Yes in the pop-up window, and the Ekran System Application Server will then be restarted automatically.