Remote Mass Deployment on macOS Clients Using Jamf Pro
NOT AVAILABLE IN SAAS
Prerequisite: Download and unpack the standard SytecaMacOSClientuniversal.tar.gz (or custom SytecaMacOSClientuniversal.tar.gz, containing the settings.ini file) installation package archive into any folder on the macOS system.
NOTE: When using the macOS hidden Client (instead of the standard macOS Client), the "SytecaMacOSClientuniversal.tar.gz“ installation package is instead called "macos_hidden_agent_universal.tar.gz".
Follow the instructions described in the steps below to deploy the Syteca macOS Client on Client computers running macOS 12 (Monterey) versions of the operating system.
Table of Contents
1. Creating a Device Profile
To add a device profile, do the following:
1. In the navigation pane on the left, select Computers > Configuration Profiles, and then click the Upload button (in the top right of the page).
2. In the Upload OS X Configuration Profile pop-up window that opens, click the Choose File button, and then select the EkranClient/remote deploy/Profiles for Jamf/Ekran System Client Profile v1.0.mobileconfig file.
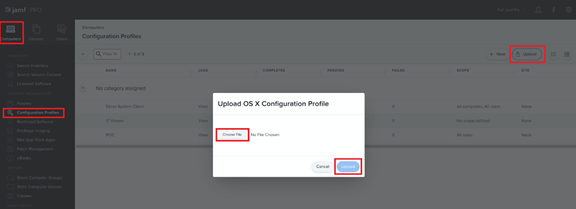
3. Click the Upload button.
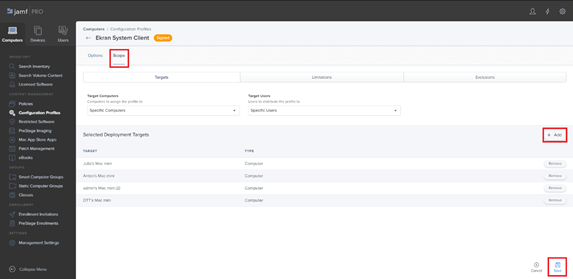
4. Select the Scope tab, then click the Add button on the right and select those computers where you want to install mobileconfig, and then click the Save button (in the bottom right).
2. Uploading Files to Jamf Pro
2.1. To upload the Syteca installation package, do the following:
1. Click the Settings (

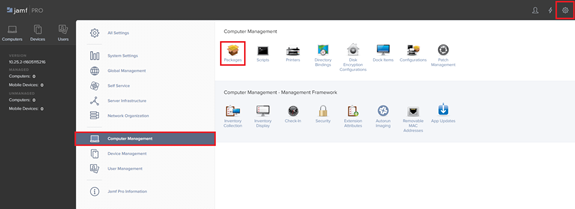
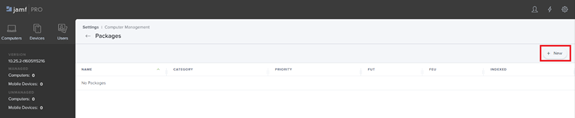
2. On the Packages page that opens, click the New button (in the top right).
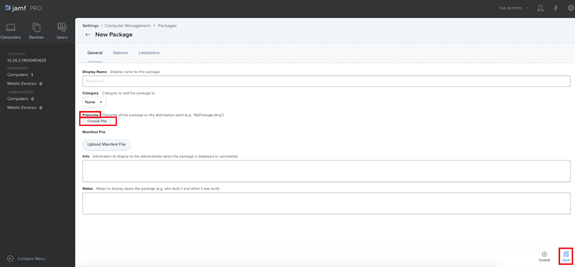
3. On the New Package page that opens, under Filename, click the Choose File button, and select the EkranClient/SytecaClient-<version>.pkg file, then click the Save button (in the bottom right).
NOTE: When using the macOS hidden Client (instead of the standard macOS Client), the "EkranClient/SytecaClient-<version>.pkg" file is instead called "EkranClient/SytecaHiddenClient-<version>.pkg".
2.2. To upload the postinstall script, do the following:
1. Click the Settings (

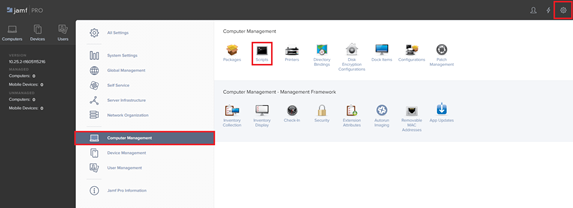
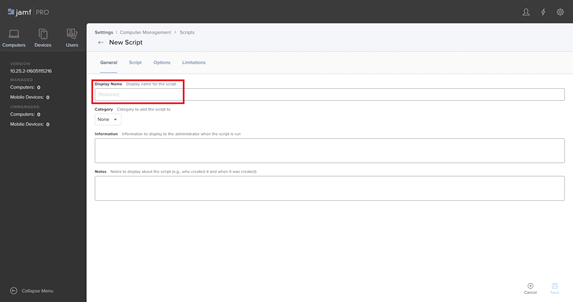
2. On the Scripts page that opens, click the New button (in the top right).
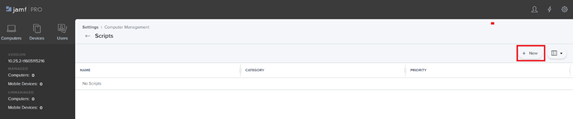
3. On the New Script page that opens, enter a name for the script.
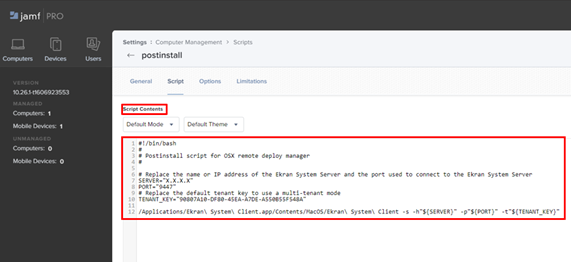
4. Select the Script tab.

5. Copy the contents of the EkranClient/remote deploy/postinstall.sh script file from the installation package into the Script Contents field.
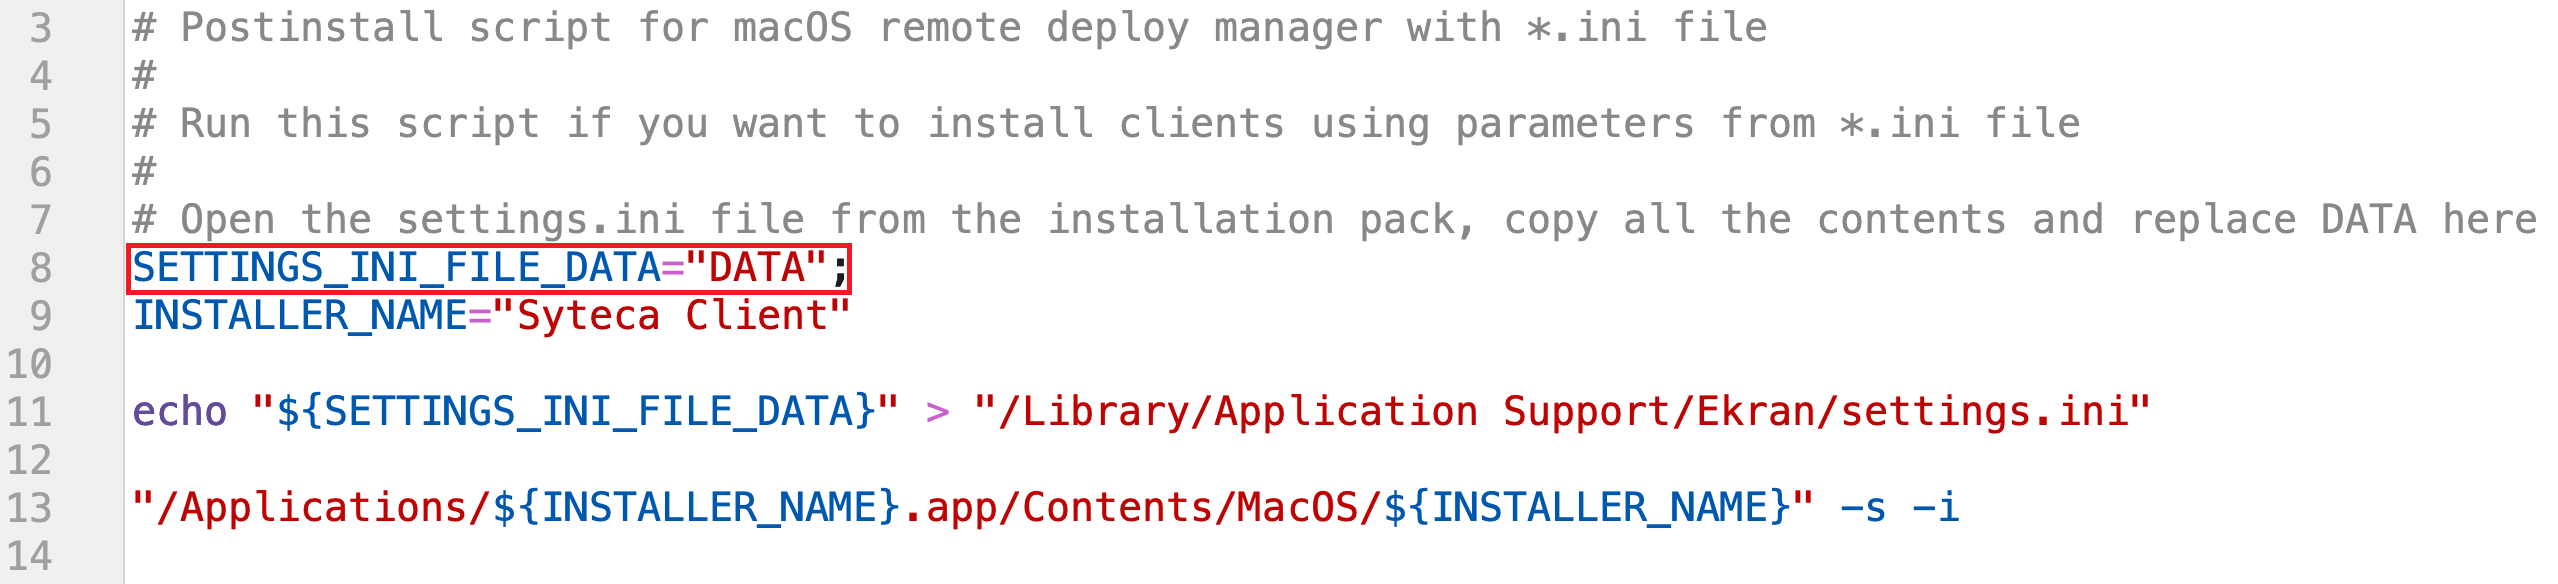
Instead, if the EkranClient folder in the macOS installation package contains a settings.ini file, copy the contents of the EkranClient/remote deploy/postinstall_ini_file_support.sh script file into the Script Contents field, and then copy the contents of the settings.ini file into the SETTINGS_INI_FILE_DATA variable to replace the DATA value in the Script Contents field, and Steps 6 and 7 (below) should then be skipped.
6. In the script, change "X.X.X.X" to the hostname or the IP address of Syteca Application Server to be connected to.
7. If you need to install the Client on a specific tenant, in the script text, change "90807A10-DF80-45EA-A7DE-A550B55F548A" to your tenant key.
NOTE: In Multi-Tenant mode, the tenant key can be copied from the Management Tool (on the Tenant Management page) by the administrator of the default tenant. If you do not change the tenant key, the Client will be installed on the built-in default tenant.
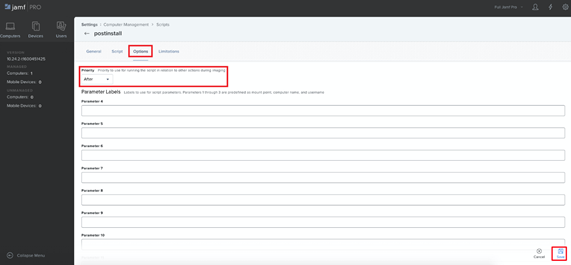
8. Select the Options tab, and then in the Priority drop-down list, make sure After is selected, and click the Save button (in the bottom right) to save the script.
3. Creating a Policy
To add a policy, do the following:
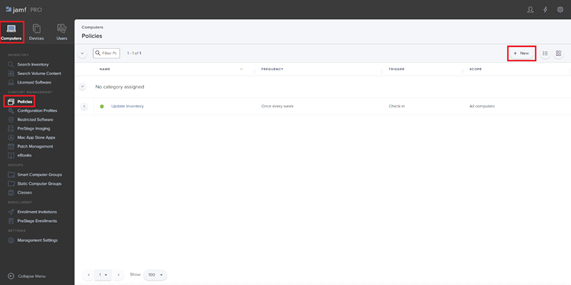
1. In the navigation pane on the left, select Computers > Policies, and then click the New button (in the top right page).
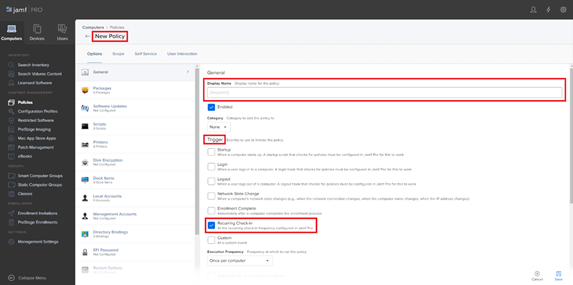
2. On the New Policy page that opens, enter a name for the policy in the Display Name field, and then in the Trigger section, select the Recurring Check-in checkbox.
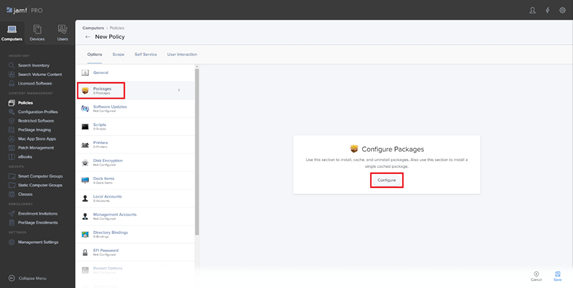
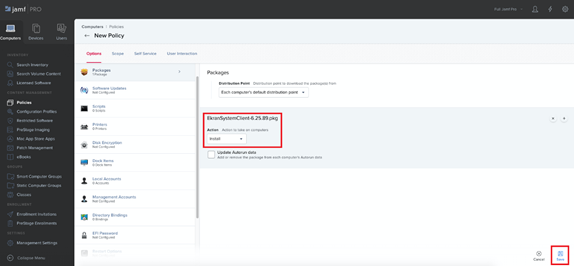
3. In the navigation pane on the left, select Packages (
4. Click the Add button next to the required package.
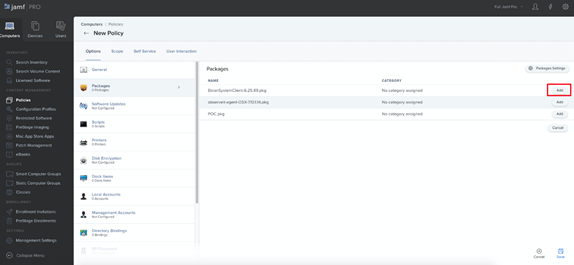
5. In the Action drop-down list, make sure Install is selected, and then click the Save button (in the bottom right).
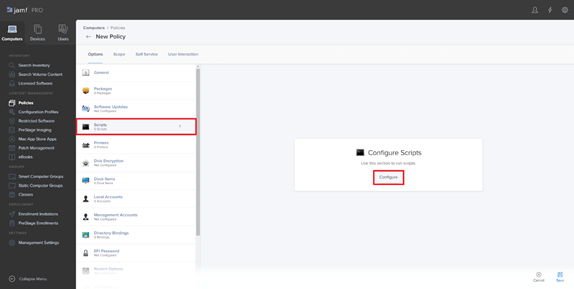
6. In the navigation pane on the left, select Scripts (
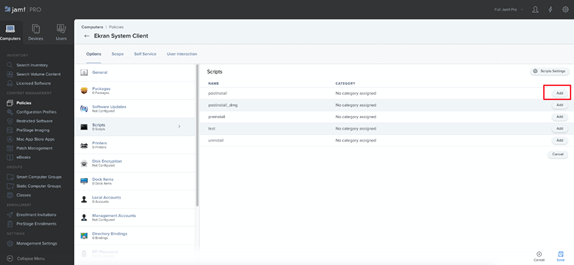
7. Click the Add button next to the required package.
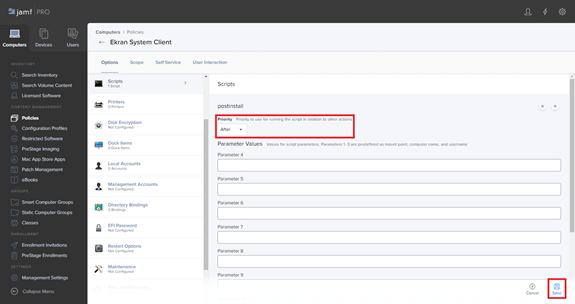
8. In the Priority drop-down list, make sure After is selected, and then click the Save button (in the bottom right).
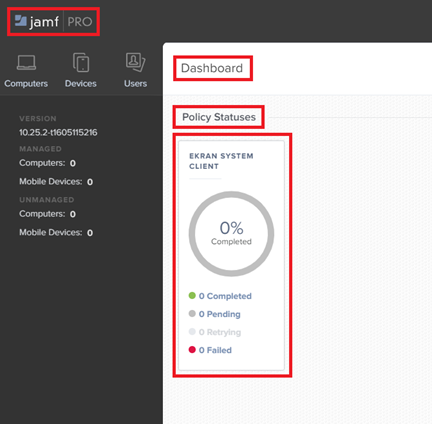
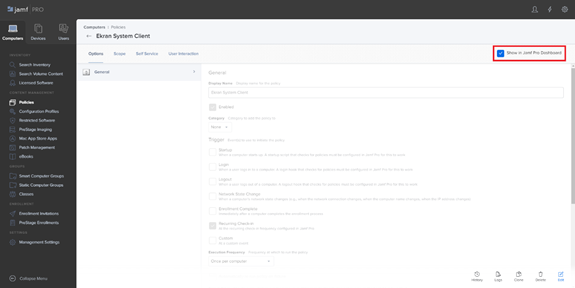
9. Select the Show in Jamf Pro Dashboard checkbox (in the top right).
10. After creating the policy, the agent installation will start after 15 minutes (by default). You can view the installation progress on the Jamf Pro Home page, on the Dashboard, under Policy Statuses.