Stage 1. Creating and Configuring iSCSI Virtual Disks
NOT AVAILABLE IN SAAS
iSCSI virtual disks can be created on the Windows Server operating system. Three steps are involved in creating and configuring these virtual disks:
Step 1. Installing the iSCSI Target Server role.
Step 2. Creating two iSCSI virtual disks.
Step 3. Connecting the iSCSI target to a failover cluster node.
Each storage endpoint will only be connected to one cluster node, thereby creating a storage-node pair. These steps need to be completed for each storage-node pair.
Step 1. To install the iSCSI Target Server role on a standalone storage server, do the following:
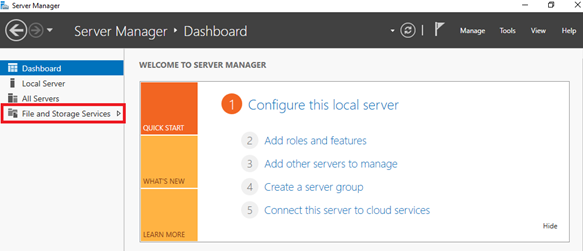
1. Open Server Manager on the server which you want to use as the storage endpoint.
2. On the Manage menu, select Add Roles and Features.
3. On the Before you begin page, click Next.
4. On the Select installation type page, select Role-based or feature-based installation, and then click Next.
5. On the Select destination server page, select the server where you want to install the server role, and then click Next.
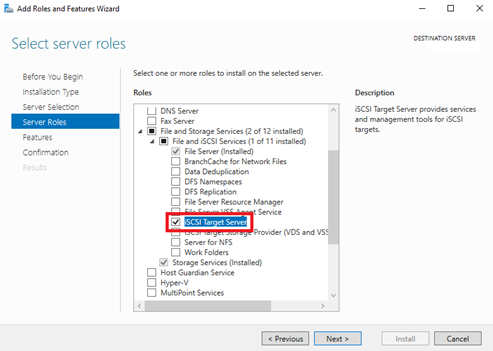
6. On the Select server roles page, expand File and Storage Services and File and iSCSI Services, and then select the iSCSI Target Server checkbox, and click Next.
7. On the Confirm installation selections page, click Install.
8. When the installation is complete, click Close.
Step 2. To create two iSCSI virtual disks on one storage endpoint, do the following:
1. Open Server Manager on the server which has the iSCSI Target Server role installed.
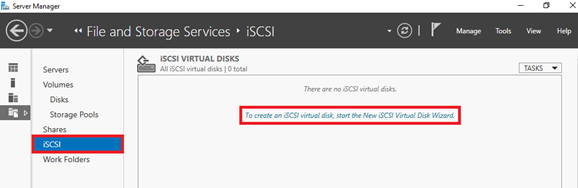
2. On the left pane of the Server Manager, open File and Storage Services.
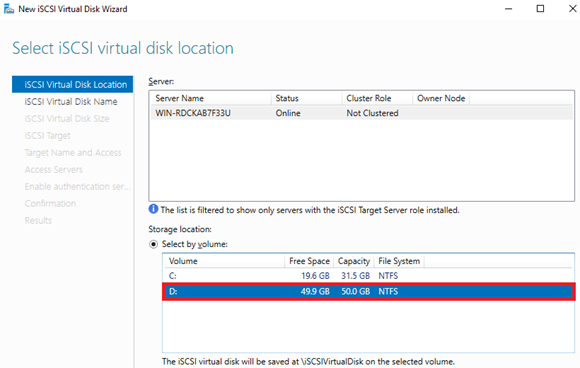
3. Select iSCSI, and then click To create an iSCSI virtual disk, start the new iSCSI Virtual Disk Wizard.
4. Select the disk where you want to store the data.
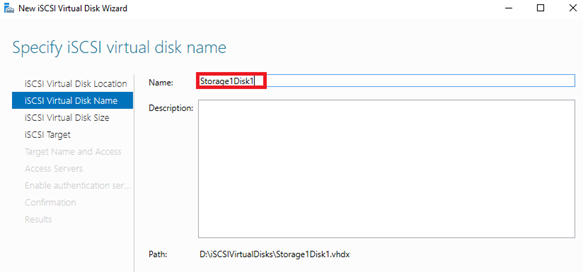
5. Enter a name for the virtual disk.
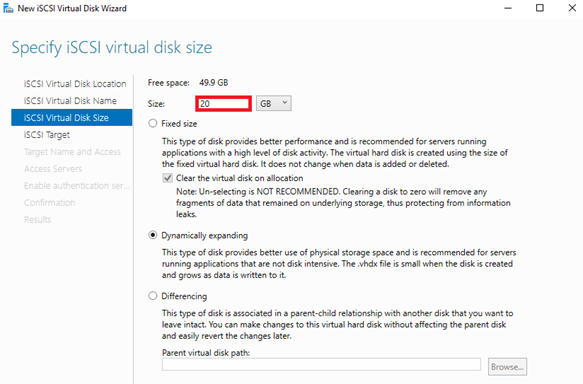
6. Enter a size for the virtual disk, and select a type for it (or leave the type option selected by default).
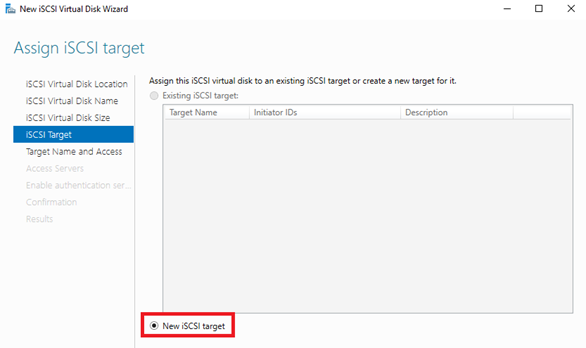
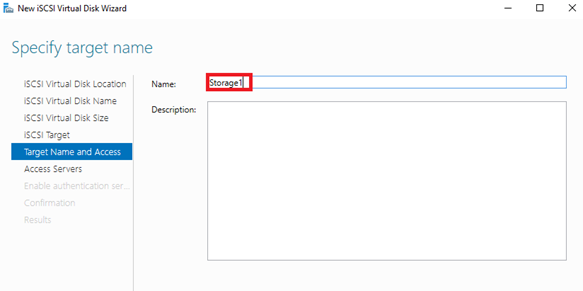
7. On the Assign iSCSI Target page, leave the New iSCSI target option selected by default.
8. Enter a name for the new iSCSI target.
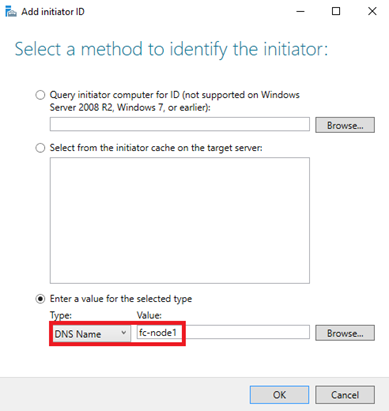
9. On the Access Servers page, click the Add button to add the server that you want to configure as a failover cluster node. You can use the DNS Name, IP address or other options to refer to that server.
10. On the Confirmation page, click Create.
11. When creation of the iSCSI virtual disk is complete, click Close.
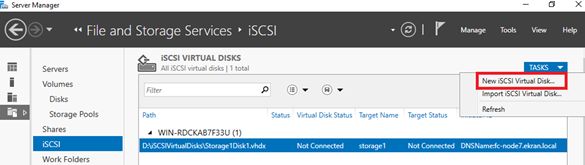
12. On the left pane of Server Manager, open File and Storage Services, then open the iSCSI page, click Tasks, and select New iSCSI Disk.
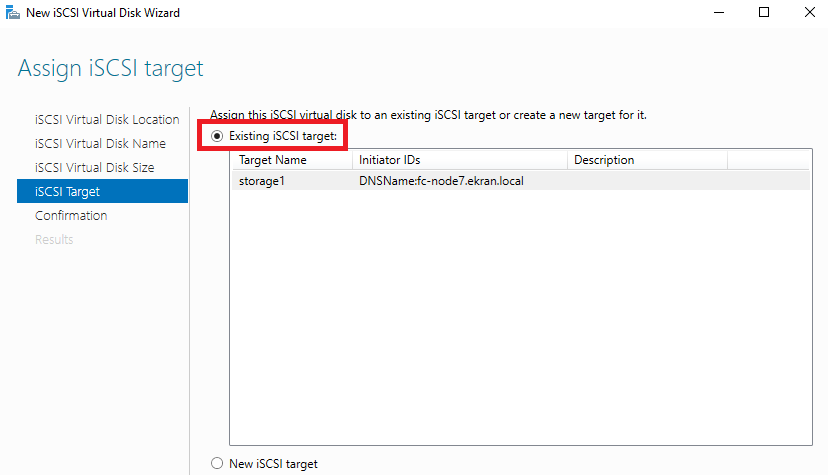
13. Create a second iSCSI virtual disk where you want to store the logs, by following the same procedure as above, but this time select the Existing iSCSI target option on the Assign iSCSI Target page to finish with.
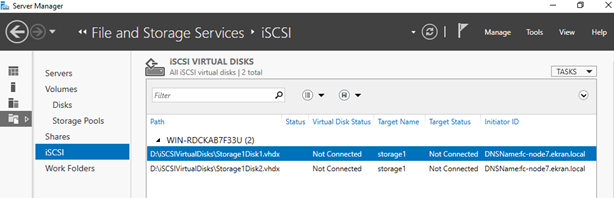
You have now completed creating two iSCSI virtual disks which are accessible via one iSCSI target.
Step 3. To connect the virtual disks to a server that you will later configure as a failover cluster node, do the following:
1. Open Server Manager on the server which you want to configure as a failover cluster node.
2. On the Manage menu, select Add Roles and Features.
3. On the Before you begin page, click Next.
4. On the Select installation type page, select Role-based or feature-based installation, and then click Next.
5. On the Select destination server page, select the server where you want to install the feature, and then click Next.
6. On the Select server roles page, click Next.
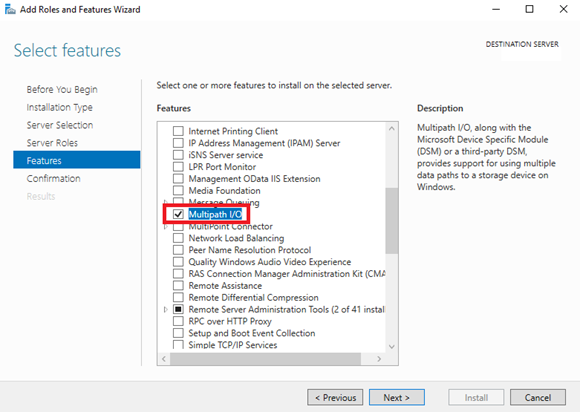
7. On the Select features page, select the Multipath I/O checkbox, and then click Next.
8. On the Confirm installation selections page, click Install.
9. When the installation is complete, click Close.
NOTE: It is required to restart the server after installation of this feature.
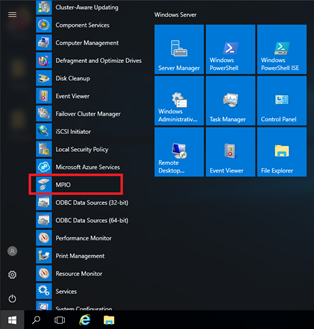
10. On the Windows Start menu, select Administrative Tools, and then select MPIO.
11. Select the Discover Multi-Paths tab, and then select the Add support for iSCSI devices checkbox, and click Add.

NOTE: It is required to restart the server after adding this option.
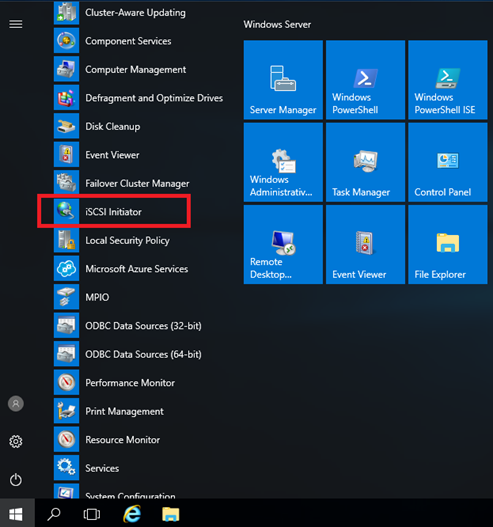
12. On the Windows Start menu, select Administrative Tools, and then select iSCSI Initiator.
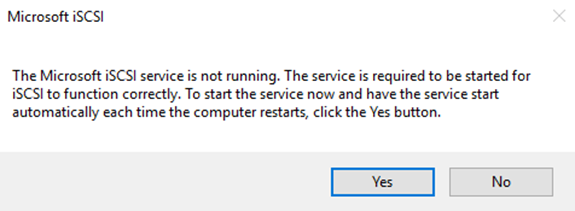
13. Click Yes to start the iSCSI service.
14. In the iSCSI Initiator Properties window, select the Discovery tab, and click Discover Portal.
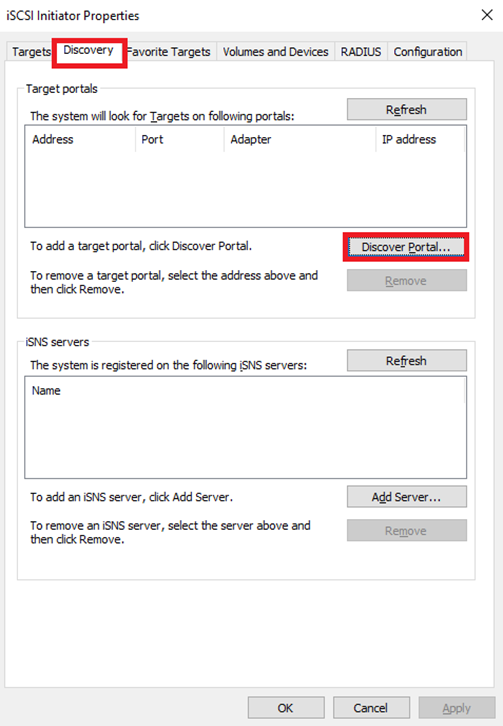
15. Enter the IP address or DNS name of the server where the virtual iSCSI disks and the iSCSI target were created, and then click OK.
NOTE: If there is no connection to the iSCSI target, make sure that a firewall exception rule for port 3260 is added on the server where the iSCSI target was configured.
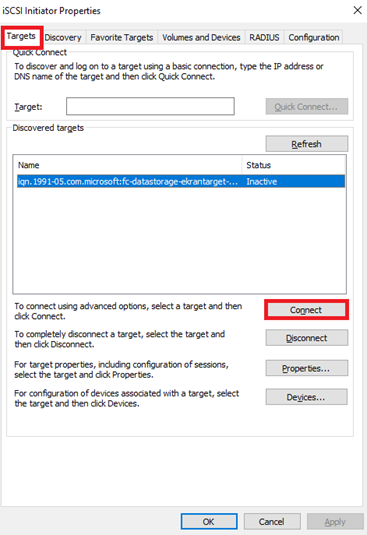
16. In the iSCSI Initiator Properties window, select the Targets tab, and click Connect.
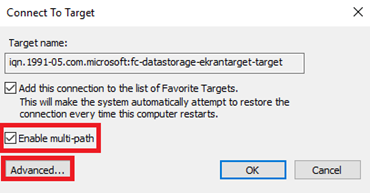
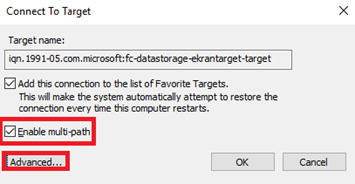
17. In the Connect To Target window, select the Enable multi-path checkbox, and click Advanced.
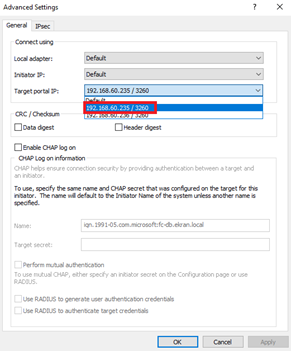
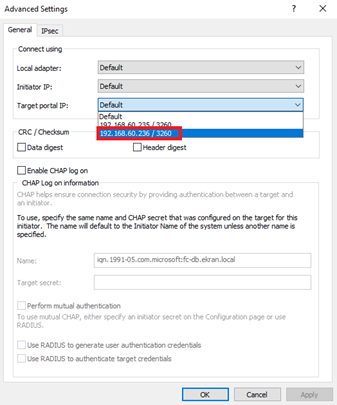
18. In the Advanced Settings window, select one of the IP addresses of the storage endpoint where the iSCSI target was configured, and then click OK.
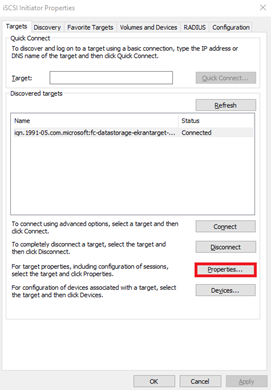
19. In the iSCSI Initiator Properties window, on the Targets tab, click Properties.
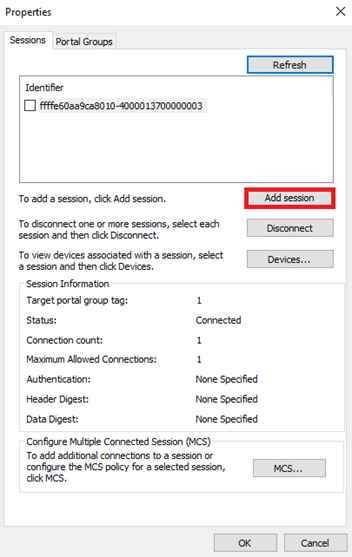
20. In the Properties window, click Add session.
21. In the Connect To Target window, select the Enable multi-path checkbox, and then click Advanced.
22. In the Advanced Settings window, select the second IP address, and click OK, and then click OK to close the iSCSI Initiator Properties window.
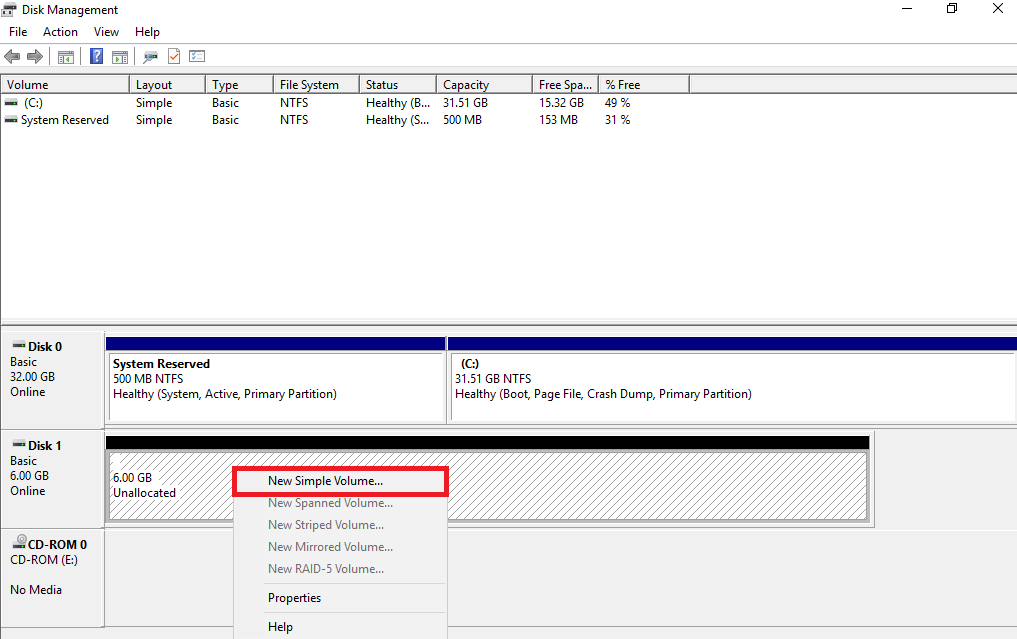
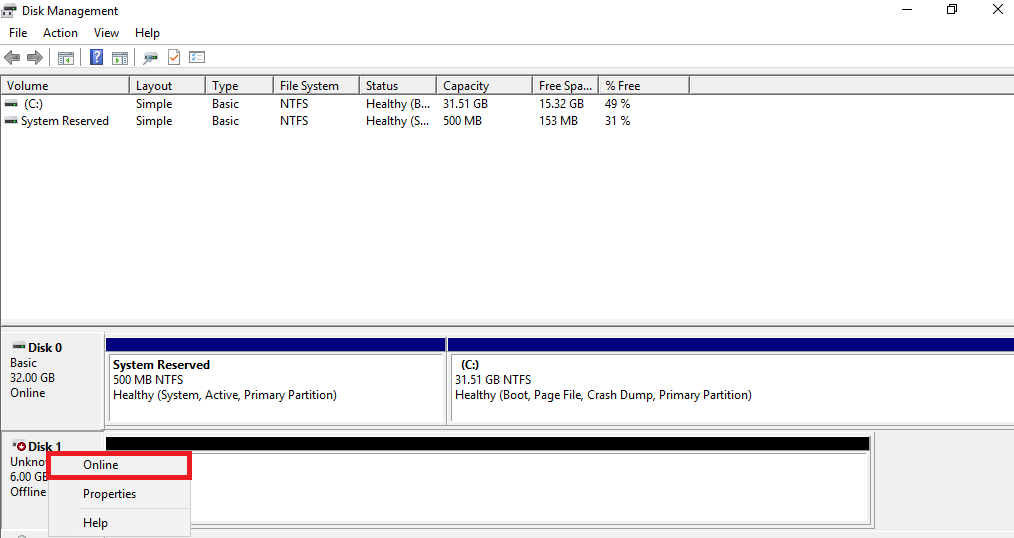
23. Initialize the iSCSI virtual disks that are accessible via the iSCSI target. To do this, press Win+R and type diskmgmt.msc to open Disk Manager, and then perform the following actions for both virtual disks that you have created:
• Right-click on the new disk, and select Online.
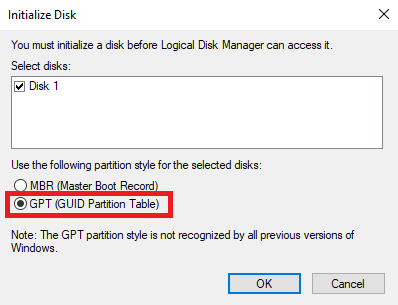
• Right-click on the new disk again and select Initialize, and then select the GPT partition style.
• Right-click on the Unallocated space of the new disk and then proceed to the end to create a new volume.