Enabling Multi-Tenant Mode
NOT AVAILABLE IN SAAS
To enable Multi-Tenant mode, do the following:
1. Log in to the Management Tool as a user with the administrative Tenant Management and System Configuration permission.
2. Click the Configuration () button (at the top of the Management Tool interface).
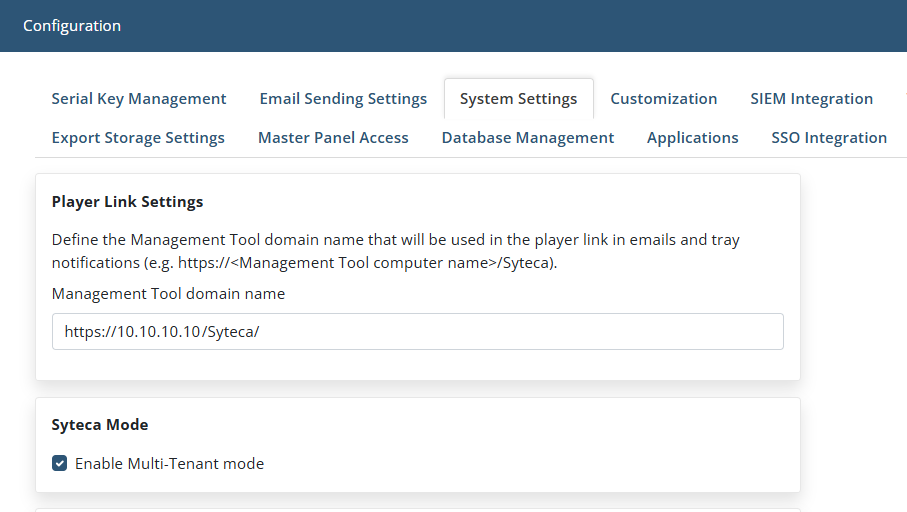
3. On the Configuration page that opens, select the System Settings tab, and in the Syteca Mode section, select the Enable Multi-Tenant mode checkbox, and then click the Save button (at the bottom of the page).

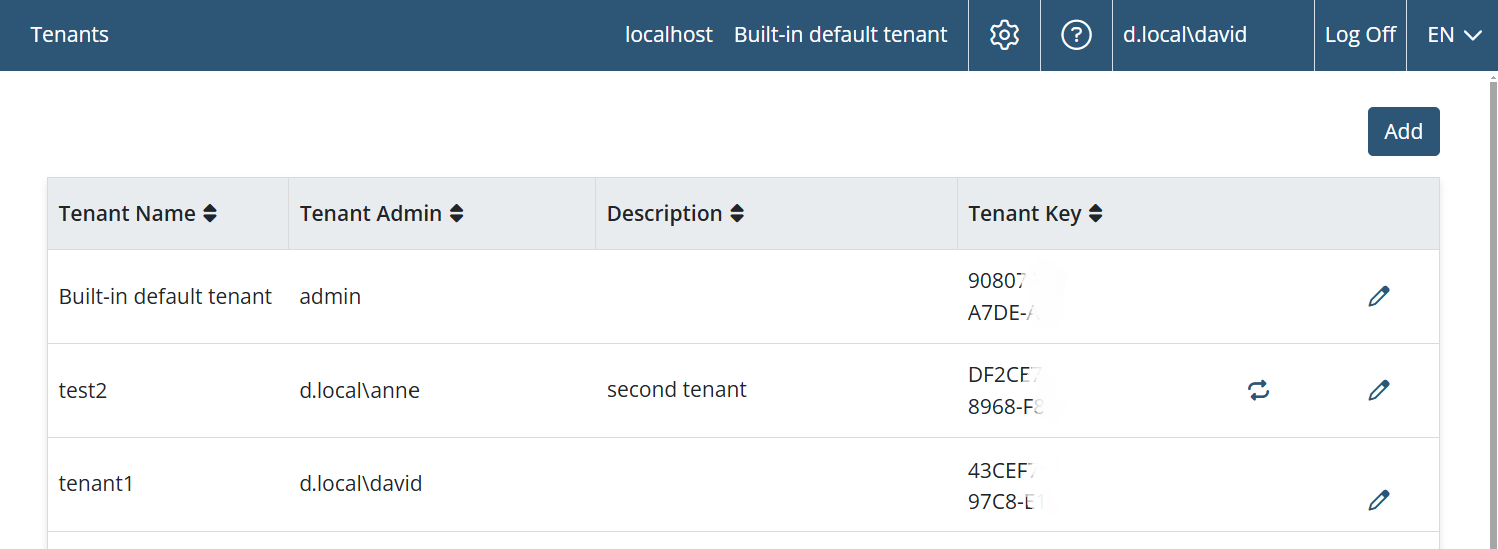
4. The Tenants navigation link will then be displayed in the navigation pane (on the left).
5. Click the Tenants navigation link.
6. On the Tenants page that opens (which displays a list of all the tenants), click the Edit Tenant (

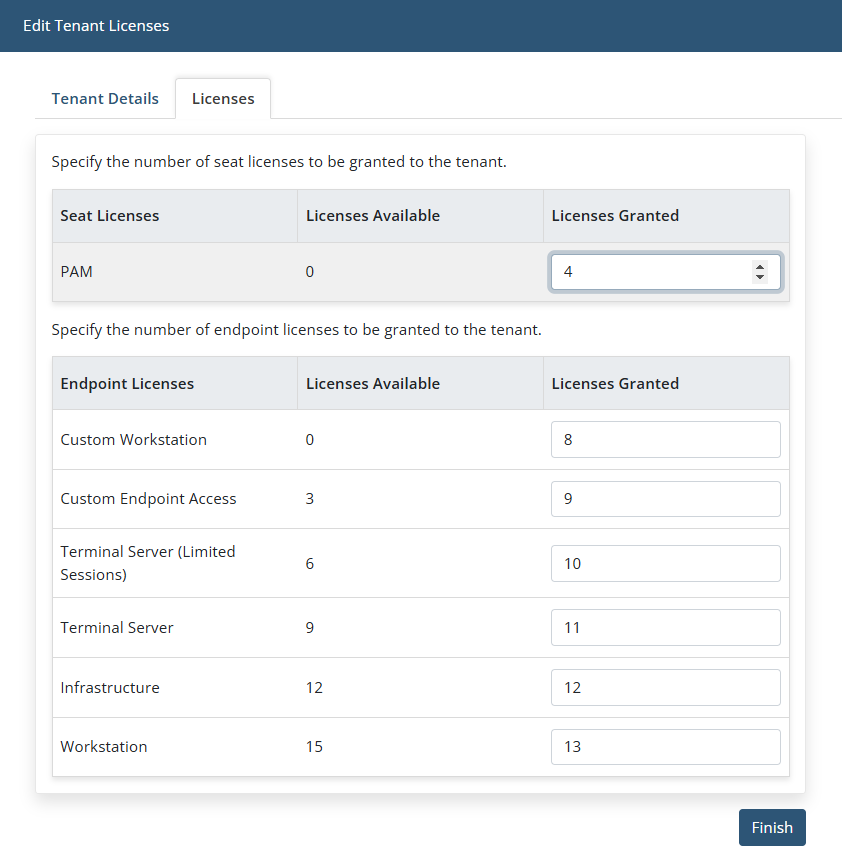
7. On the Edit Tenant page that opens, select the Licenses tab, and then decrease the number of licenses granted to the tenant in the Licenses Granted column as required by entering the required number of licenses of each type to unassign them from the built-in default tenant, and click the Finish button, so that these licenses are then available for other tenants created by the technician.

NOTE: To move Windows Clients which are already installed on a tenant, they need to be reinstalled.

.png?inst-v=362ca448-a20b-4783-93c2-f49186888f5c)