Remote Mass Deployment on macOS Clients Using VMware Workspace ONE UEM
Prerequisite: Download and unpack the standard SytecaMacOSClientuniversal.tar.gz (or custom SytecaMacOSClientuniversal.tar.gz, containing the settings.ini file) installation package archive into any folder on the macOS system.
NOTE: When using the macOS hidden Client (instead of the standard macOS Client), the "SytecaMacOSClientuniversal.tar.gz“ installation package is instead called "macos_hidden_agent_universal.tar.gz".
For SaaS deployments, before continuing (as described below), it is required to first deploy a SaaS configuration profile (for SaaS deployments).
Follow the instructions described in the steps below to deploy the Syteca macOS Client on Client computers running the macOS 12 (Monterey), macOS 13 (Ventura), or macOS 14 (Sonoma) versions of the operating system.
NOTE: For macOS 13 (Ventura) or higher, before the Client can be installed, the Full Disk Access permission for Workspace ONE needs to be granted (in System Settings > Privacy & Security > Full Disk Access (managedsoftwareupdate)).
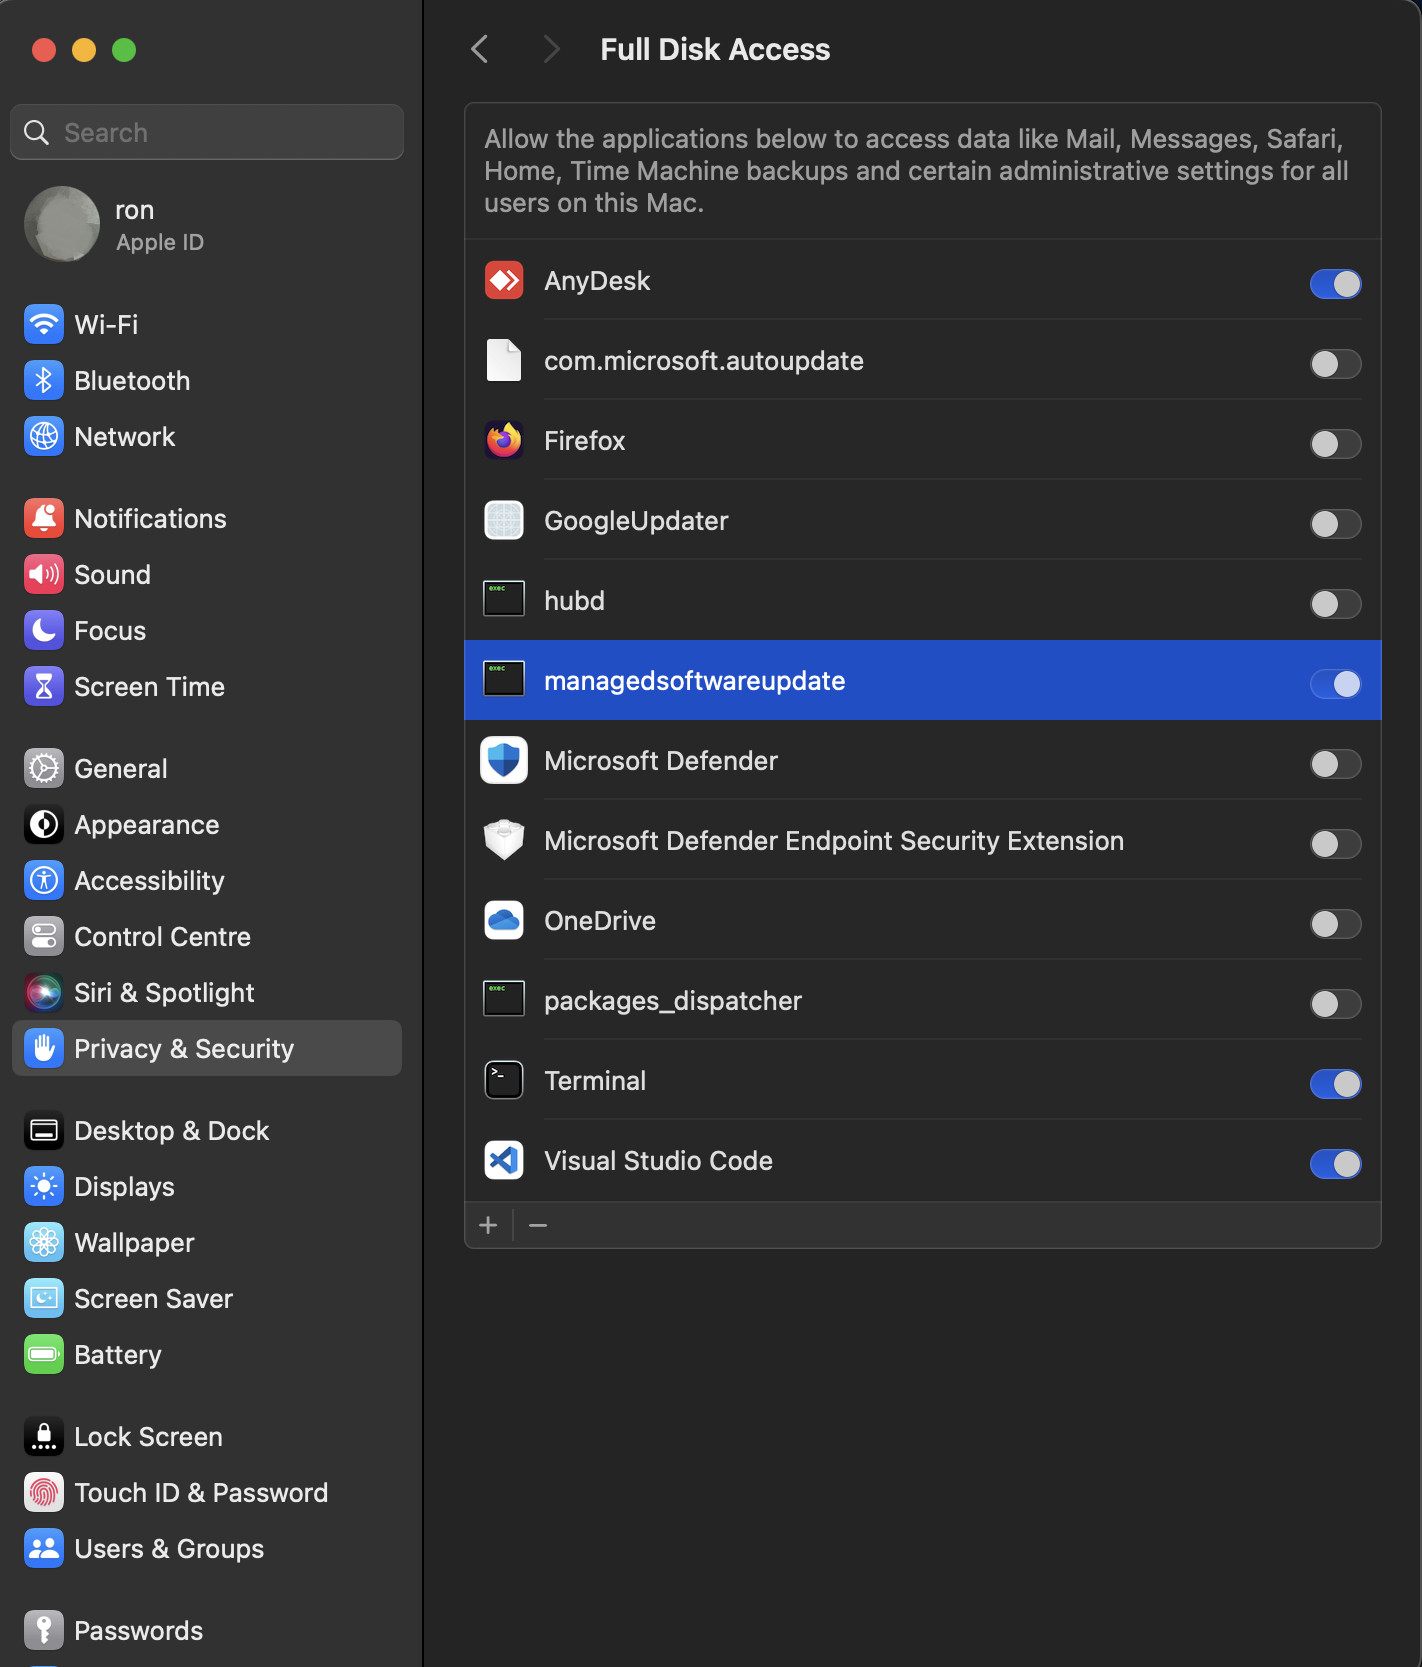
Table of Contents
1. Creating a Device Profile for macOS Manually
Depending on your macOS version, do either of the following:
1.1. Creating a Device Profile for macOS 12 (Monterey) Manually
To add a Syteca Client device profile for macOS 12 (Monterey) versions manually, do the following:
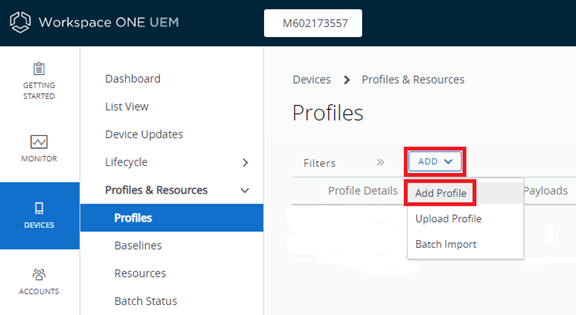
1. In the navigation panes (on the left), select Devices > Profiles & Resources > Profiles, and on the Profiles page, click the Add button, and then select Add Profile in the drop-down list.
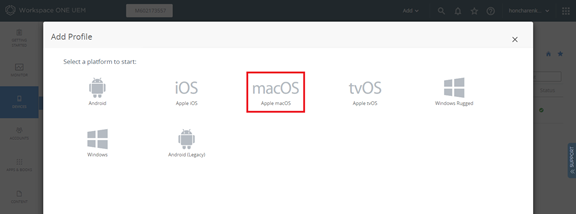
2. In the Add Profile window that opens, select Apple macOS.
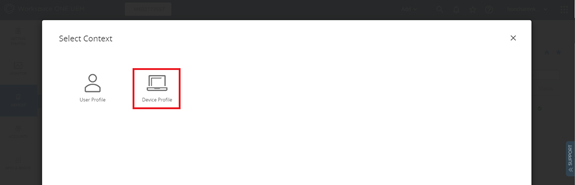
3. In the Select Content window that opens, select Device Profile.
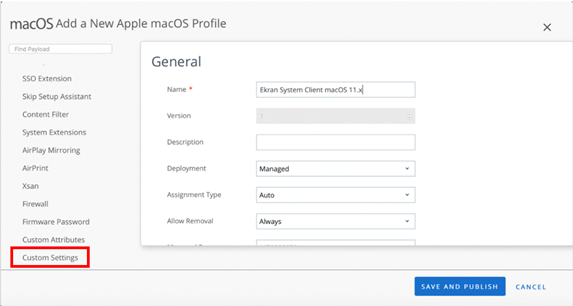
4. On the macOS Add a New Apple macOS Profile window that opens, on the General page, enter a name for the profile in the Name field, and then add the device group where the profile is to be installed in the Smart Groups combo box.

5. In the navigation pane on the left, select Custom Settings.
6. Click the Configure button on the Custom Settings page that opens, and then configure the payload by copying the XML script from the required file below into the Custom Settings field: use the EkranClient/remote deploy/Profiles for Workspace ONE/Ekran System Client macOS 11.x.xml file (for macOS 12 (Monterey) versions of the operating system that the deployment is required for).
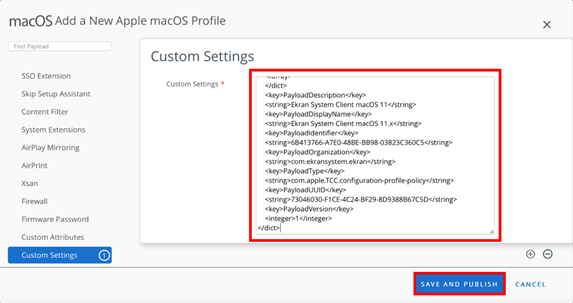
7. Click the Save and Publish button (in the bottom right) to install the profile.
8. Click the Publish button in the bottom right, and the profile will now be installed on the computers in the device group which you defined in the Smart Groups combo box above.
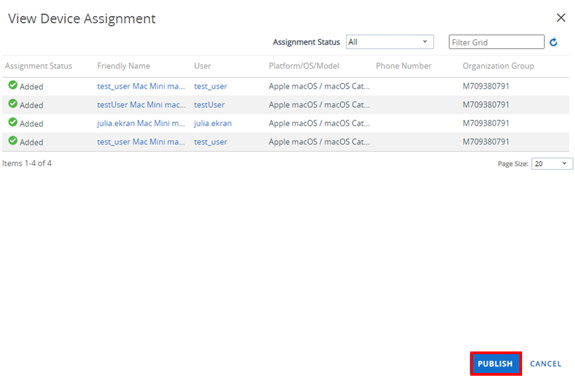
9. To make sure the profile is installed, on the Profiles page, click View next to the profile you have created (on the right).
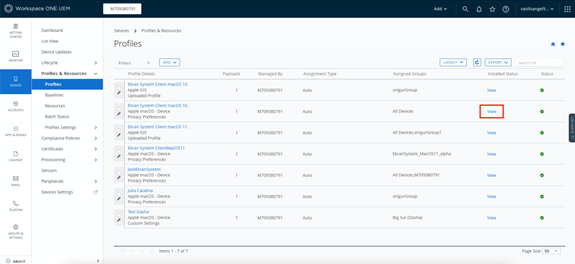
10. In this example, in the pop-up window that opens you can see that the profile is now installed on four computers.
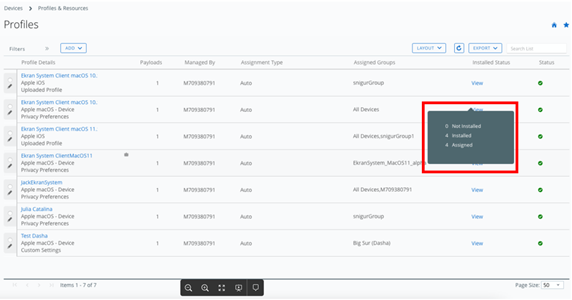
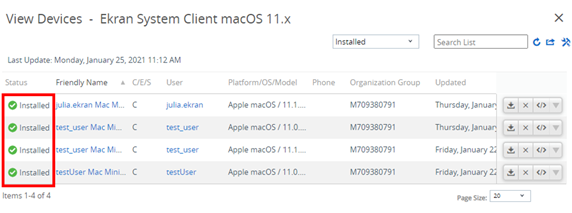
11. To see more details, in the pop-up window, click on the links showing the statuses. For example, if you click on Installed, you will see the list of devices which the Clients have been installed on.
1.2. Creating a Device Profile for macOS 13 (Ventura) or macOS 14 (Sonoma) Manually
To add a Syteca Client device profile for macOS 13 (Ventura) or macOS 14 (Sonoma) versions manually, do the following:
1. Click Resources > Profiles & Baselines > Profiles.
2. Click Add > Add Profile.
3. Select macOS system.
4. Select Device Profile.
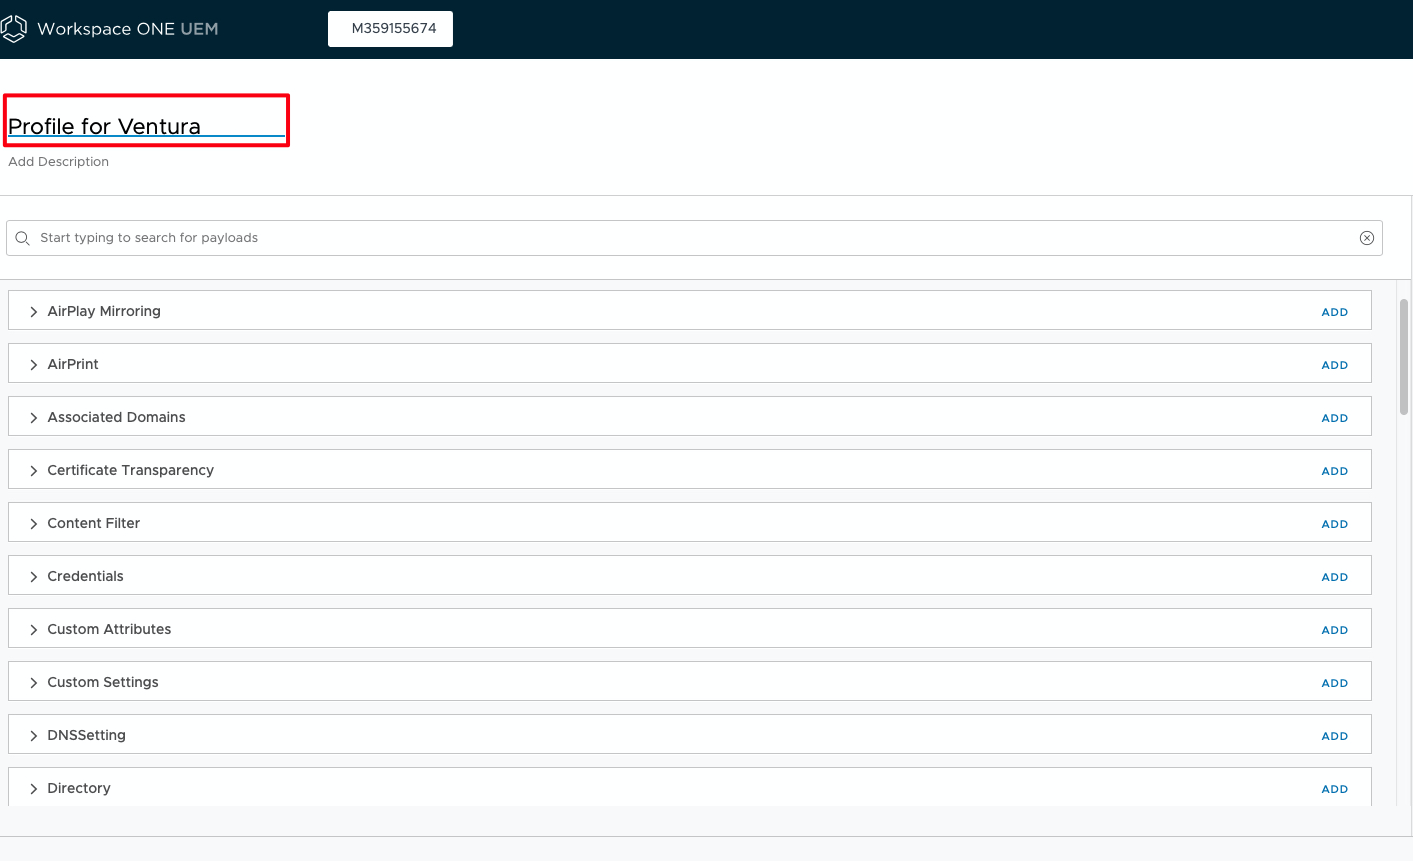
5. Enter a name for the device profile.
6. In the Custom Settings row, click Add.
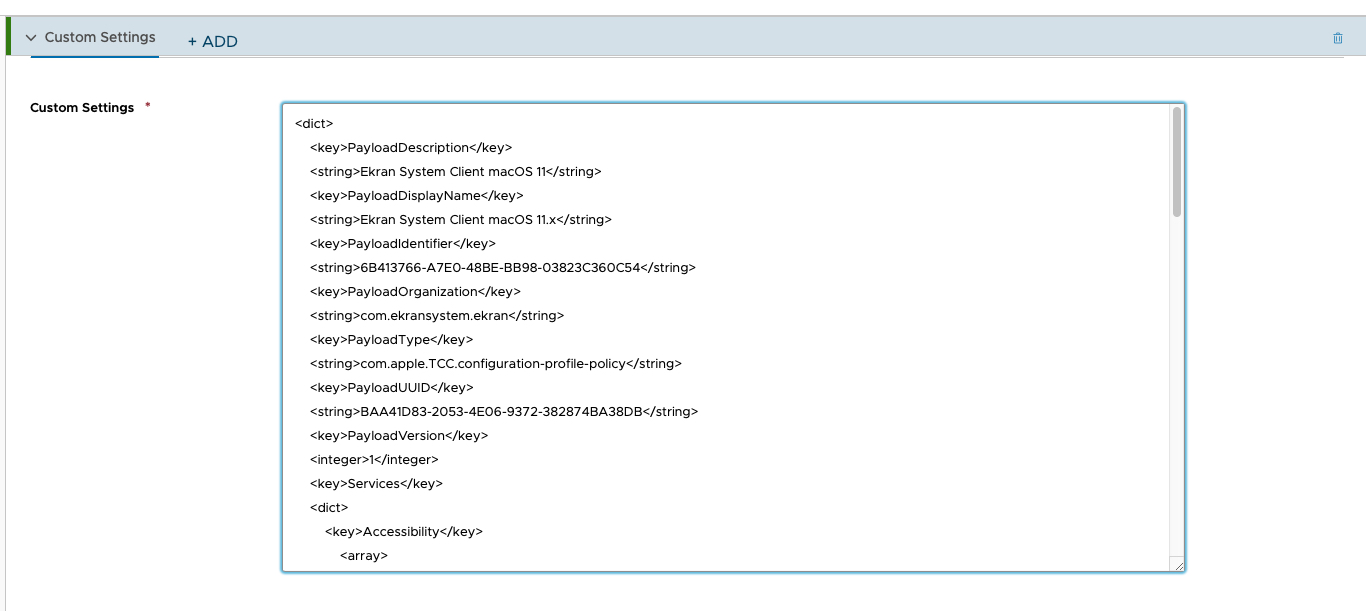
7. Copy the contents of the Ekran System Client macOS 11.x.xml file into the empty Custom Settings field.
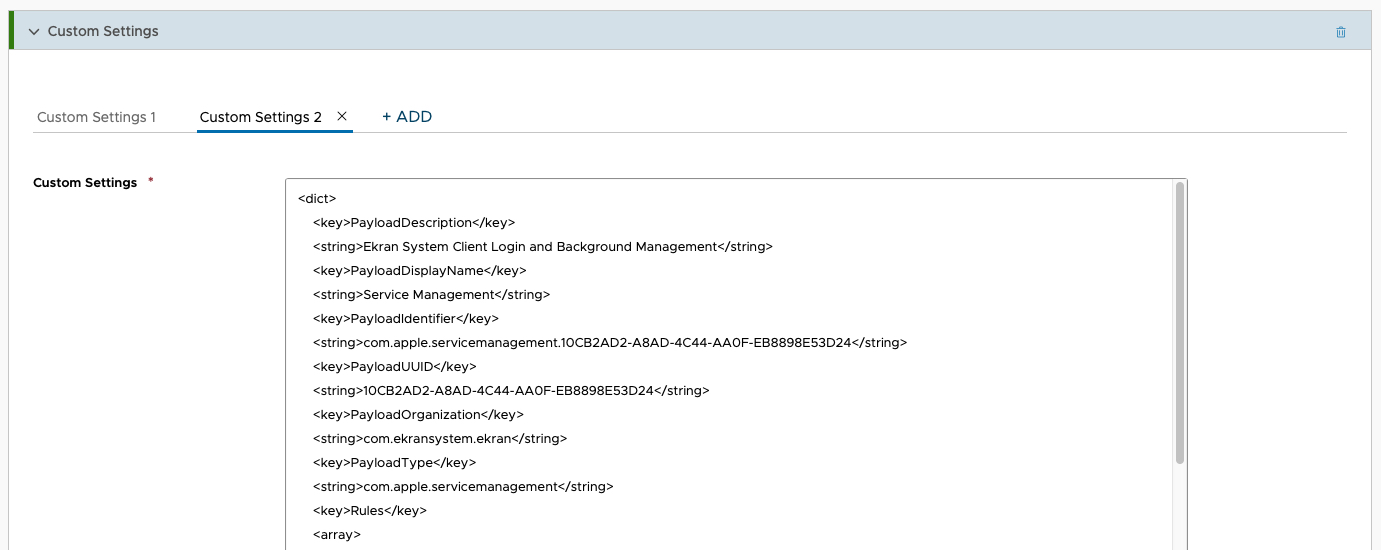
8. Click +Add to add more Custom Settings.
9. Copy the contents of Ekran System Client Login and Background Items Management.xml file to the empty field.
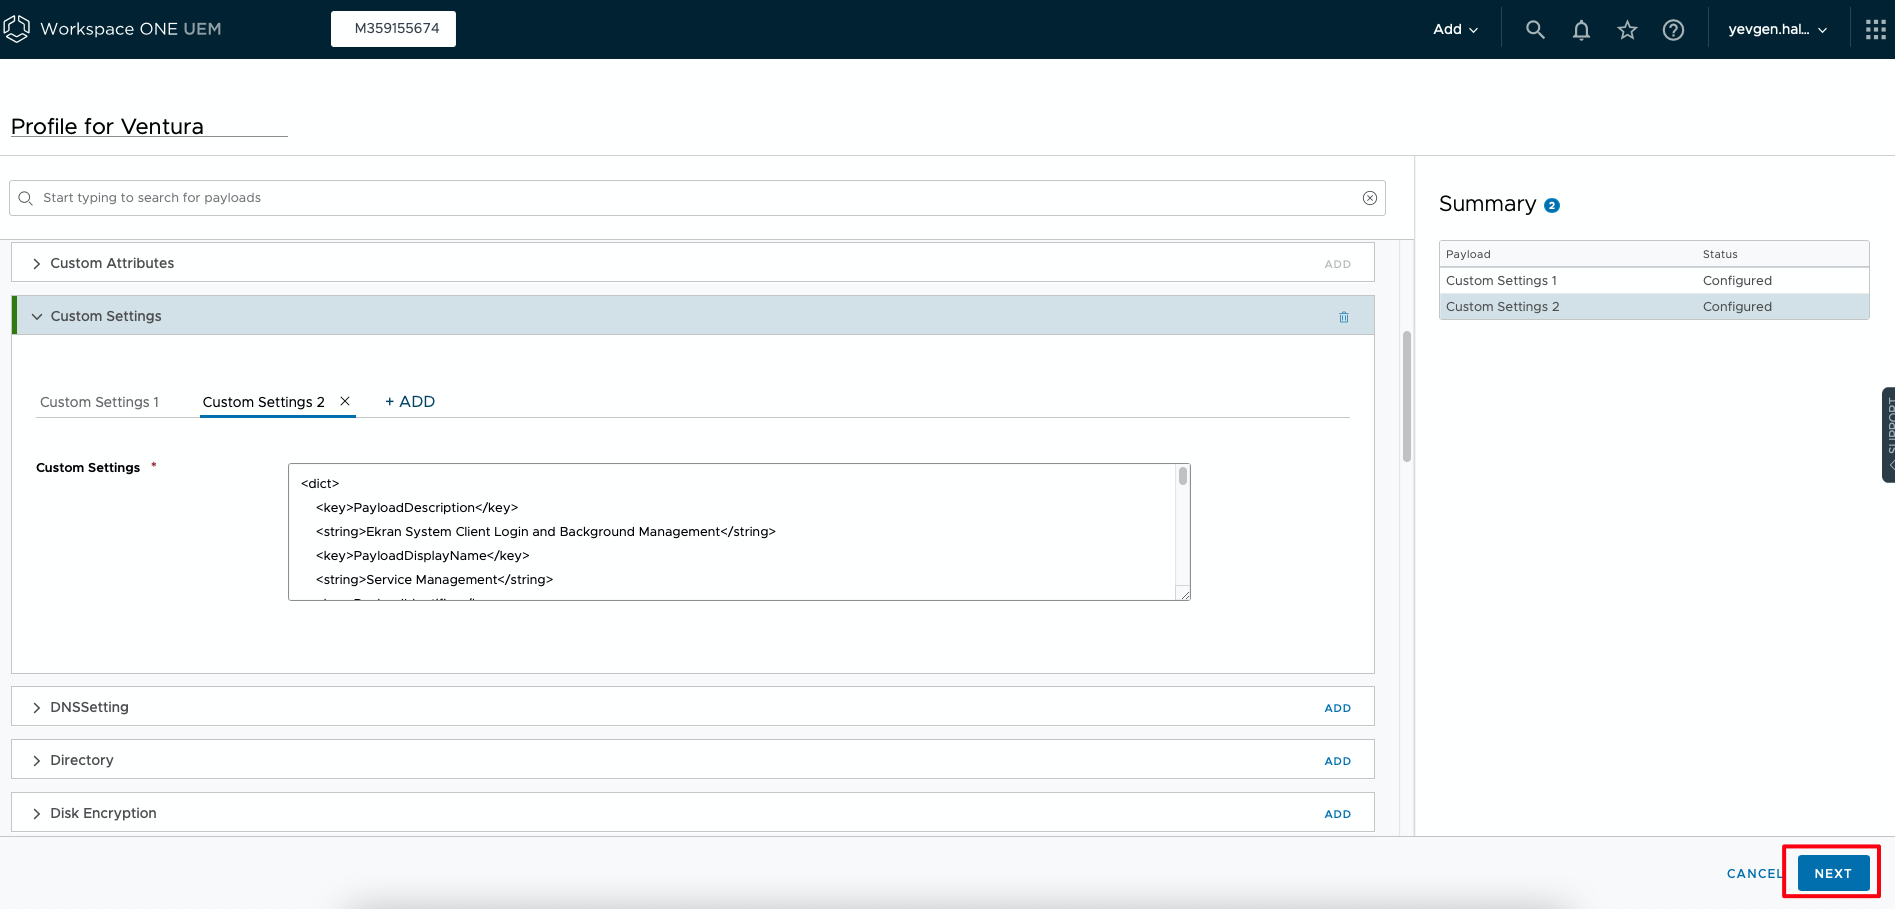
10. Click Next to continue configuring the profile.
11. Select the Smart Group to assign your profile.
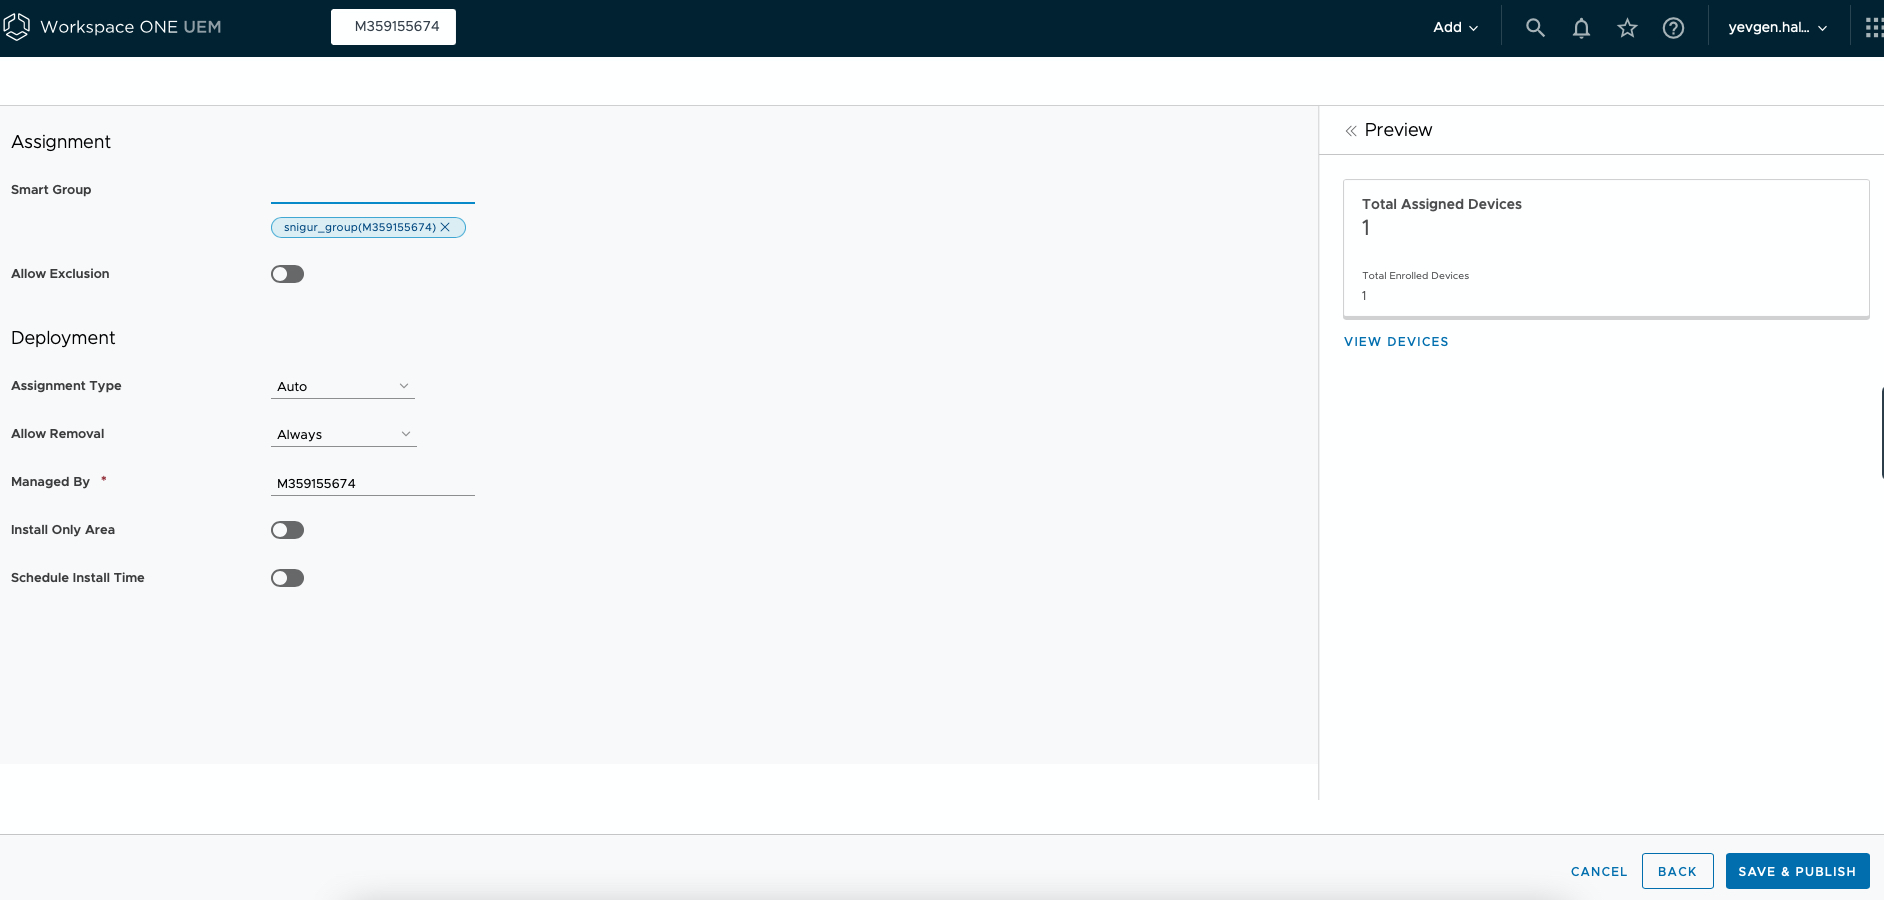
12. Click Save & Publish.
2. Creating the Syteca Client Application
To add the Syteca Client application, do the following (for all macOS versions):
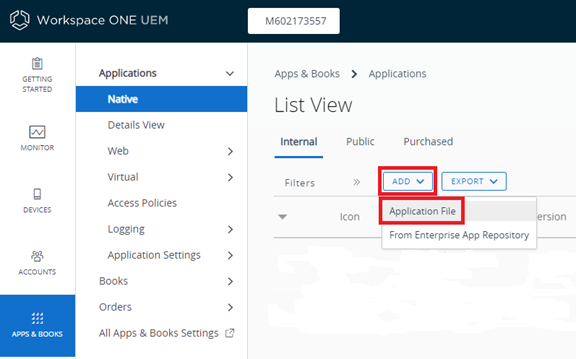
1. In the navigation panes on the left, select Apps & Books > Applications > Native, and then click the Add button on the List View page, and select Application File in the drop-down list.
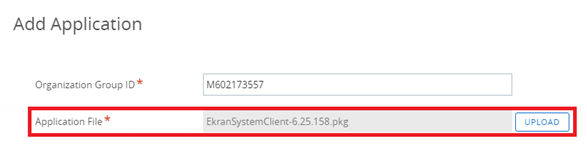
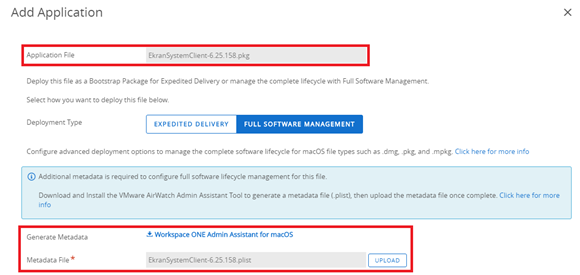
2. In the Add Application window that opens, upload the SytecaClient.pkg file from the installation package, and then click the Continue button (in the bottom right).
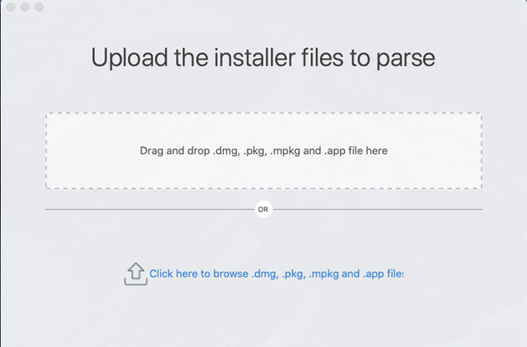
3. Generate a metadata file by doing the following:
• Install the Workspace ONE Admin Assistant for macOS tool on any device (you can download it from the link in the Generate Metadata field).
• Upload the SytecaClient.pkg file to the tool (this will provide you with a list of its components).
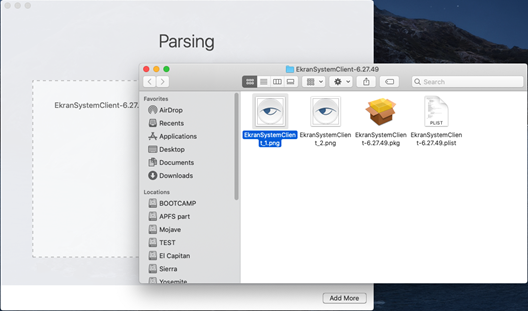
• Save the plist file from the component list to your computer.
4. Upload the plist file containing the metadata application to VMware Workspace ONE UEM.
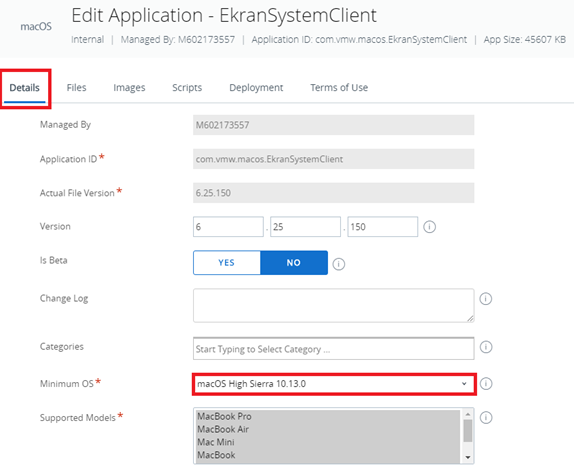
5. On the Details tab, select the oldest-supported version of macOS in the Minimum OS field.
6. Select the Images tab if you want to upload the Syteca logo (which can also be found in the Workspace ONE Admin Assistant for macOS tool along with the plist file).

7. Select the Scripts tab, and copy the contents of the EkranClient/remote deploy/postinstall.sh script file from the installation package into the Post Install Script field.
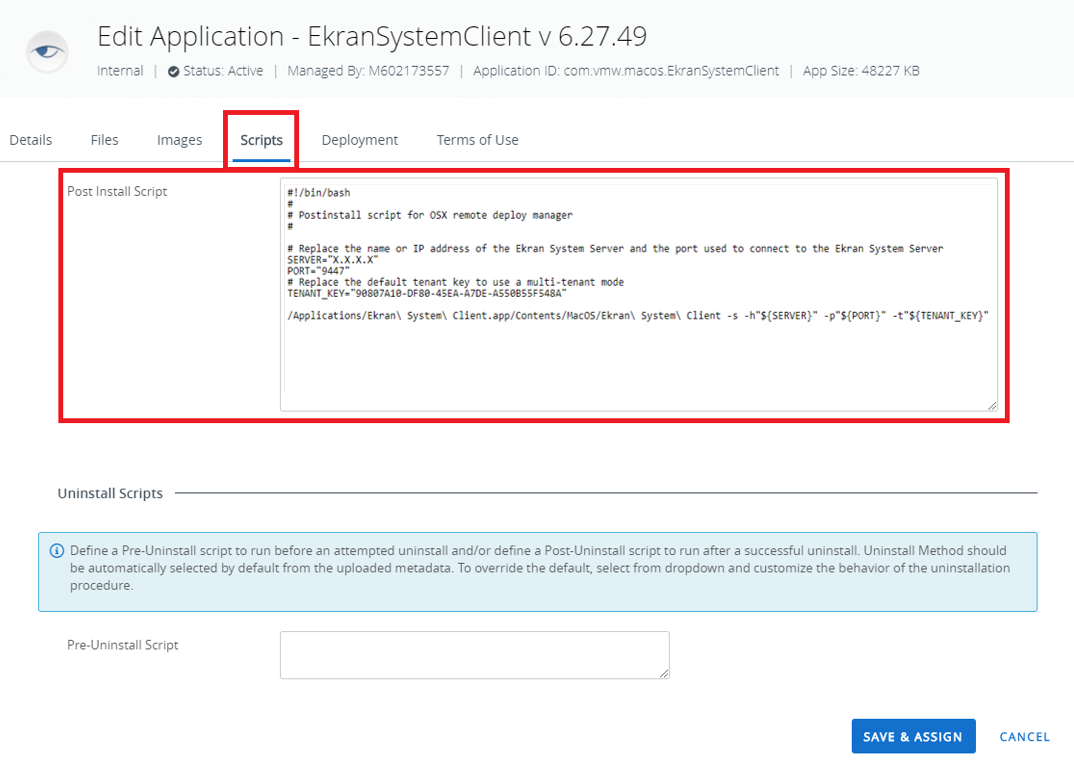
Instead, if the EkranClient folder in the macOS installation package contains a settings.ini file, copy the contents of the EkranClient/remote deploy/postinstall_ini_file_support.sh script file into the Post Install Script field, and then copy the contents of the settings.ini file into the SETTINGS_INI_FILE_DATA variable to replace the DATA value in the Post Install Script field, and Steps 8 and 9 (below) should then be ignored.
.png?inst-v=362ca448-a20b-4783-93c2-f49186888f5c)
8. In the script text, change "X.X.X.X" to the hostname or the IP address of the Syteca Application Server to be connected to (the port can also be specified, the default value of which is "9447").
9. If you need to install the Client on a specific tenant, in the script, change "90807A10-DF80-45EA-A7DE-A550B55F548A" to your tenant key.
NOTE: In Multi-Tenant mode, the tenant key can be copied from the Management Tool (on the Tenant Management page) by the administrator of the default tenant. If you do not change the tenant key, the Client will be installed on the built-in default tenant.
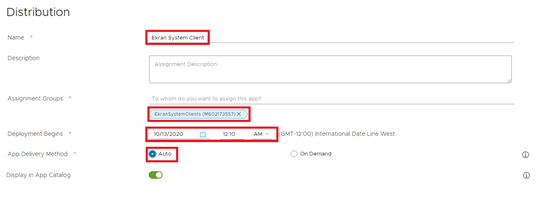
10. Select the Distribution tab:
• Enter a name for the distribution in the Name field.
• Select the group of devices where the application is to be installed in the Assignment Groups field.
• Define the time for the installation to begin in the Deployment Begins field.
• Select the Auto delivery method in the App Delivery Method field.
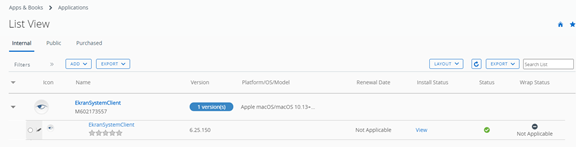
11. The application will appear in the list on the List View page.
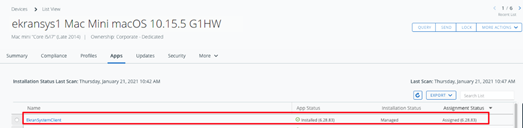
12. To check the deployment status of the application, you can do either of the following:
• In the navigation panes on the left, select Apps & Books > Native, and then click on the application name, and select the Devices tab.

• In the navigation panes on the left, select Devices > List View, and then click on a device name, and select the Apps tab.