
Selecting Computers
NOT AVAILABLE IN SAAS
To select the computers for Client installation, do the following:
1. Log in to the Management Tool as a user with the administrative Client installation and Management permission.
2. Click the Clients navigation link on the left.
3. On the Client Management tab that opens, click the Install Clients button (in the top right).
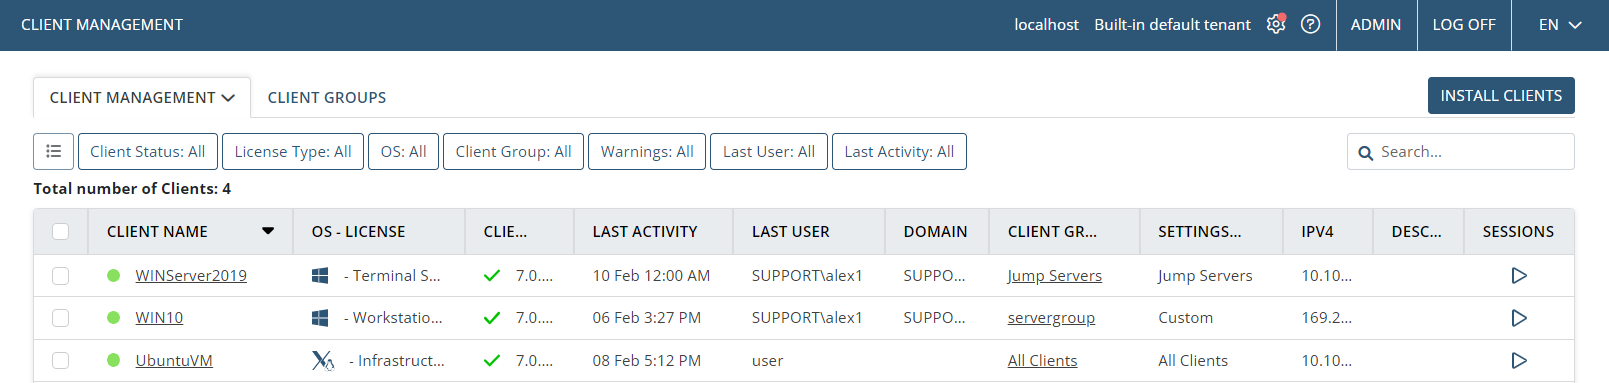
4. On the Computers Without Clients page that opens, you can see any computers listed in the grid for which previous installations failed in the list displayed.
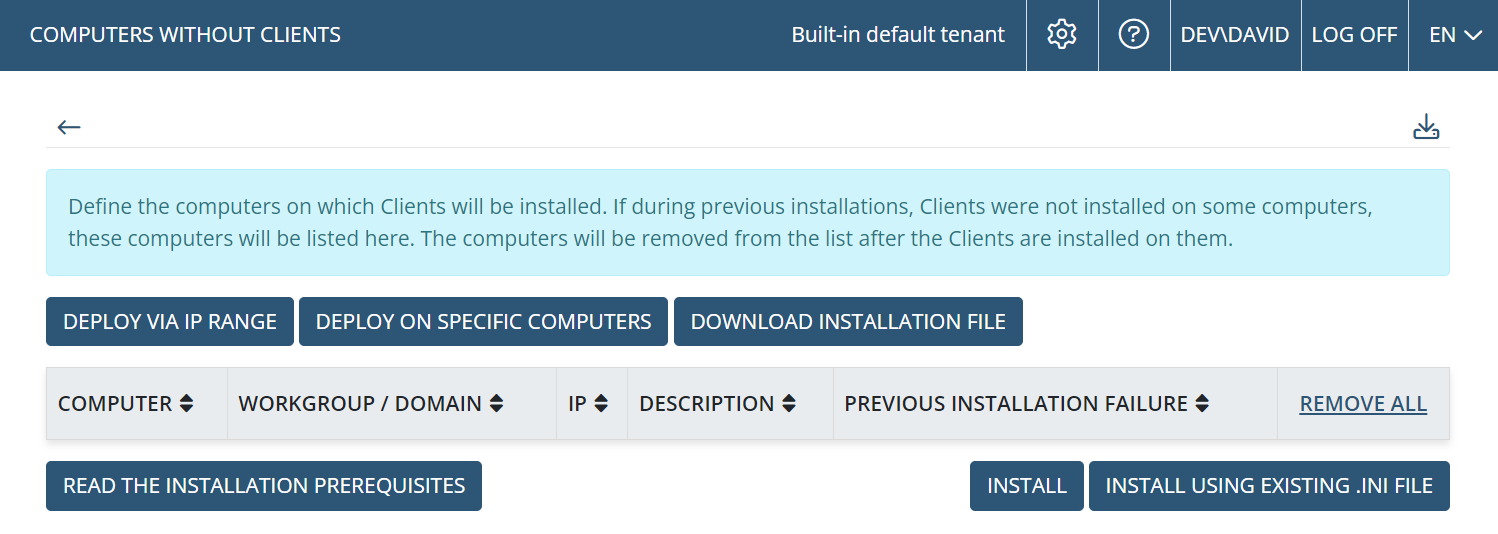
5. Select how you would like to search for the computers where you want to install the Windows Clients:
• To select computers by IP range (IPv4 or IPv6 addresses), click the Deploy Via IP Range button at the top.
• To select computers by their names, click the Deploy On Specific Computers button at the top.
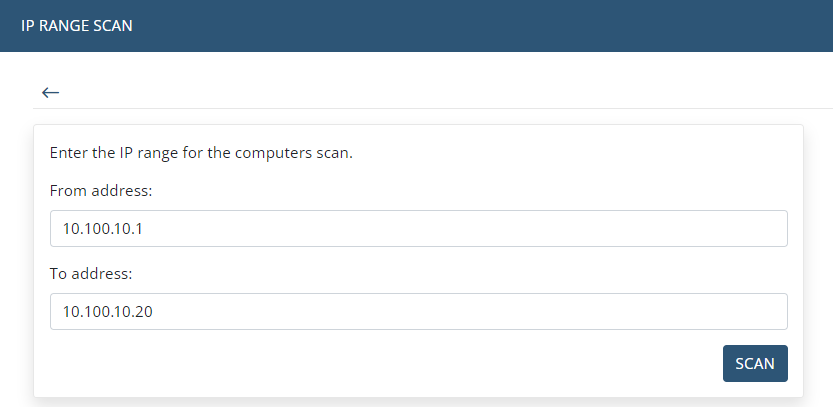
6. If you selected the Deploy Via IP Range option:
• In the Choose Search Results pop-up window is displayed, either:
- Click Start New Search to search for computers with defined parameters (or click Previous Search Results to choose the computers found in the previous search, where if you have not yet performed any searches, this button will not be displayed).

• On the IP Range Scan page that opens, in the From address and To address fields, enter the IP range (either IPv4 or IPv6) for which the network will be scanned (or to find only a specific computer, enter the same IP address in both fields), and then click Scan.
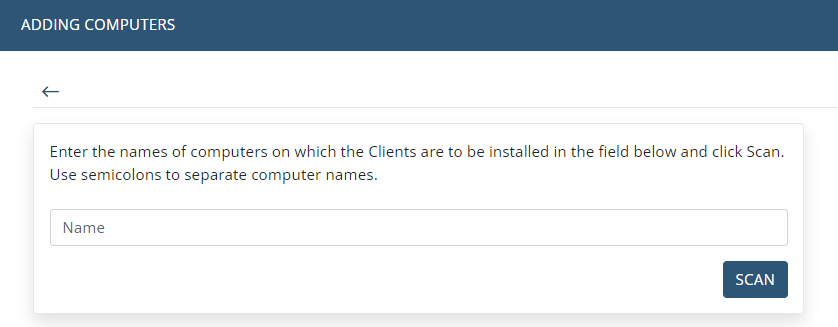
7. If you selected the Deploy on Specific Computers option, on the Adding Computers page that opens, enter the name (of IP address) of the required computer, on which the Windows Client needs to be installed in the Name field, and then click Scan.
NOTE: The full name of the computer (of full IP address) must be entered.
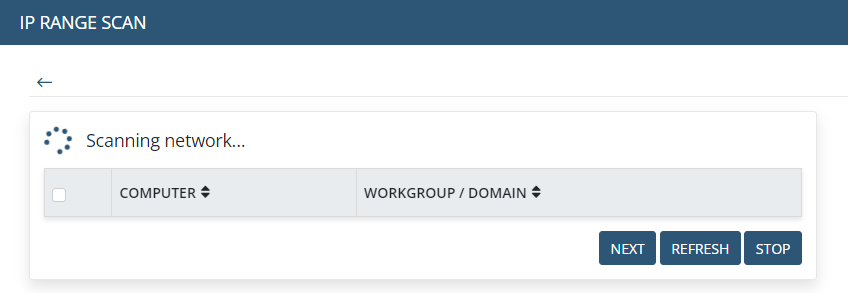
8. The scanning process then starts, and the list of computers found is updated automatically (or click Refresh if it is not updated for any reason, or click Stop to stop the scanning process).
9. When scanning is complete, select the checkboxes next to the computers that you want to install the Client on, and then click Next.
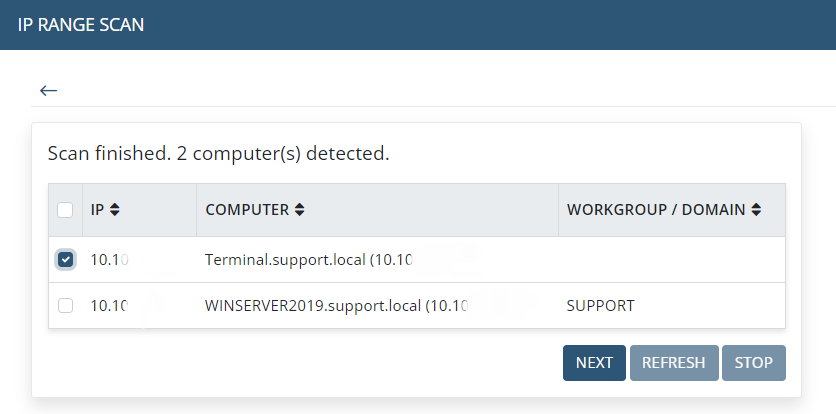
NOTE: If the hostname is not displayed (along with the IP address) in the Computer column (e.g. when used with deployments in a High Availability cluster), in Windows Firewall settings, the "Network Discovery (NB-Name-In)” inbound connection rule needs to be enabled for the Domain profile on the corresponding target computers.
10. The selected computers are then added to the list on the Computers Without Clients page.
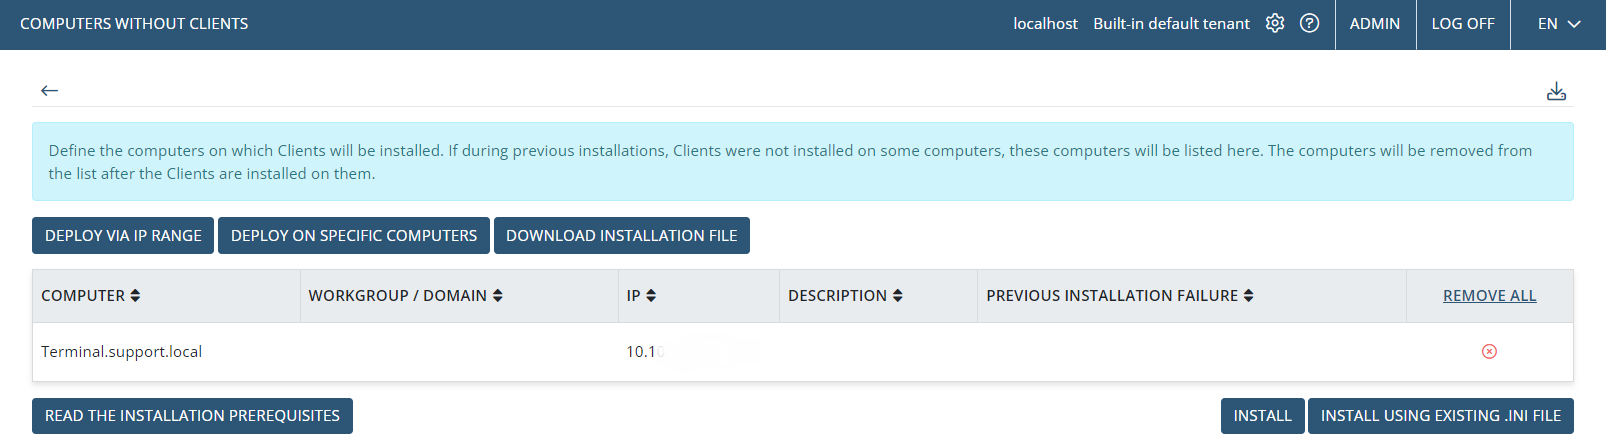
11. If you want to remove any computers from this list, click the Remove from list (