
Adding Users with Access Restrictions Requiring Administrator Approval on Login
To add a user whose login to Client computers must first be approved by a trusted user (i.e. Approver) whenever they log in, do the following:
1. Log in to the Management Tool as a user with the administrative User Management permission.
2. Click the Access Requests navigation link on the left.
3. On the Access Requests page, select the Endpoint Access Control tab, and then click the Add button (in the top right of the page).
4. In the Add User pop-up window that opens, on the General tab, in the User with Restricted Access Rights section (at the top), first select the User type in the drop-down list, and then select the following:
• For an Active Directory user, select the Domain and the User / User group name.
• For a Local computer user, select the Computer name and the User login name.
• For an Syteca user for secondary authentication, select the User login name.
NOTE: The "Syteca user for secondary authentication" user type must be selected if secondary user authentication is enabled on any Client that the user will log in to (for secondary user authentication to work on that Client).
• For a Linux user, select the User login name.

5. In the Accessed Computer with Installed Client section, select one of the following options:
• For a Linux user or Syteca user for secondary authentication, to restrict access to all computers, select Any computer in the Computer Type drop-down list.
• For an Active Directory user or Syteca user for secondary authentication, to restrict access to a specific computer or computer group, select Selected computer in the Computer Type drop-down list, and then select the required domain name and the name of computer / computer group.
• For an Active Directory user, Linux user, or Syteca user for secondary authentication, to restrict access to computers of a specific Client group, select Computers from Client group in the Computer Type drop-down list, and then select the required Client group.
NOTE: Access will only be restricted for computers with Clients installed on them.
6. In the Users Who Can Approve Access section, search for and select the trusted users (i.e. Approvers) who will be able to process the user's access requests either by using the link in an email they receive or by way of the Access Requests tab on the Access Requests page.
NOTE: For internal users to receive email requests correctly, make sure that the email addresses are specified correctly on the User Details tab, on the Editing User page.
NOTE: By default, if a request is not processed within 30 minutes after it has been submitted, it will automatically expire. You can change these settings on the System Settings tab on the Configuration page.
7. On the Restriction Types tab, select the Always require approval on login option.
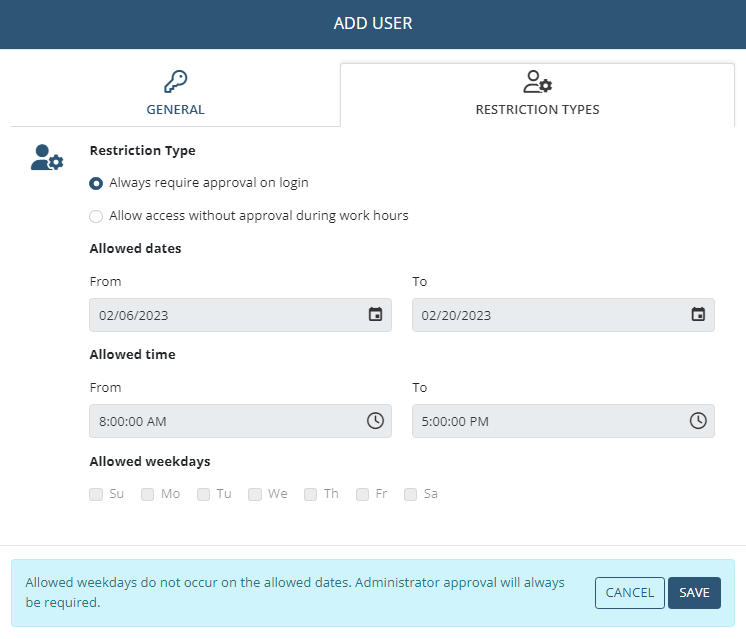
8. Click Save.
9. The user is then added to and displayed in the list of users in the grid, and on all subsequent logins, will only be able to log in to the Client computers after approval by a trusted user.