
Generating the Windows Client Installation Package
NOTE: For SaaS deployments, the process of downloading the Windows Client installation file differs slightly from that for on-premises deployments described below. Therefore, please instead refer to the Getting Started with a SaaS Deployment guide.
To generate an installation package (with custom monitoring parameters), do the following:
1. Log in to the Management Tool as a user with the administrative Client Installation and Management permission.
2. Click the Client Management navigation link on the left.
3. On the Client Management page, click the Install Clients button (in the top right).
4. On the Computers Without Clients page that opens, click the Download Installation File button at the top.
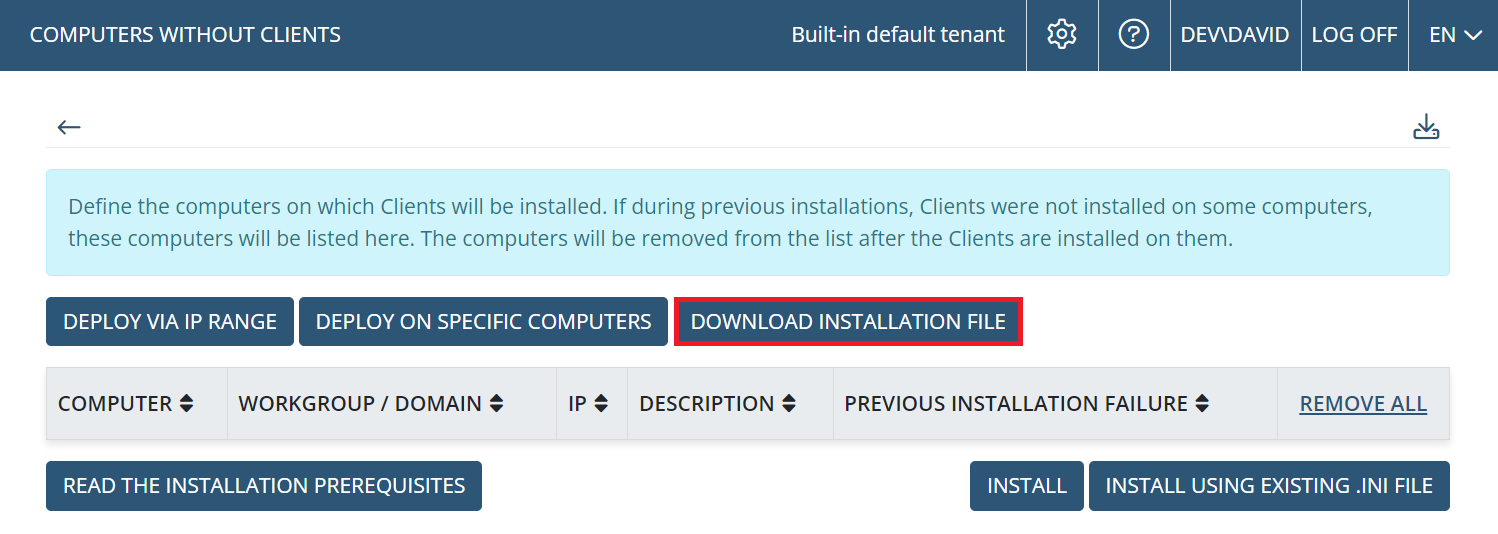
5. On the Installation File Download page, select Windows in the drop-down list, and then click the Windows Client Installation Package (.ini + .exe) button.
6. On the Generate Installation Package page, optionally protect the installation package file from modification, define the name / IP address of the server to which Clients will connect and define the Client configuration to be applied to the Client, and then click Next.
NOTE: The server IP address has to be static for Clients to connect to it. Unique external IP addresses should be used for cloud-based Syteca Application Servers.
7. The installation package is now created and downloaded to your computer. The download settings depend up your browser settings.