
Installing the Application Server
NOT AVAILABLE IN SAAS
To install the Application Server, do the following:
1. Run the installation file (Systeca_Server.exe) to open the Syteca Setup wizard.
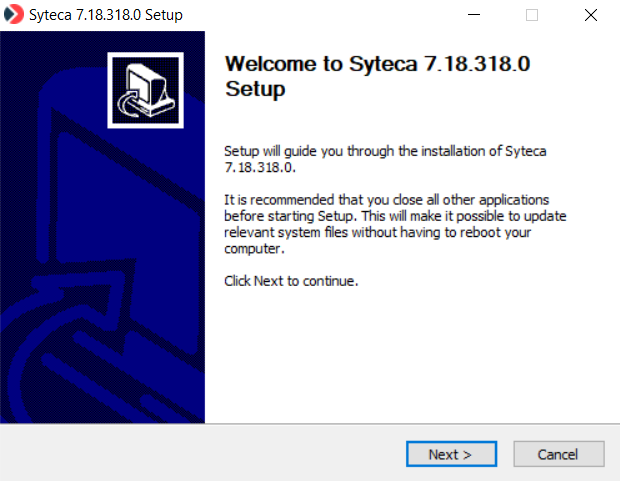
2. On the Welcome to Syteca Setup page, click the Next button.
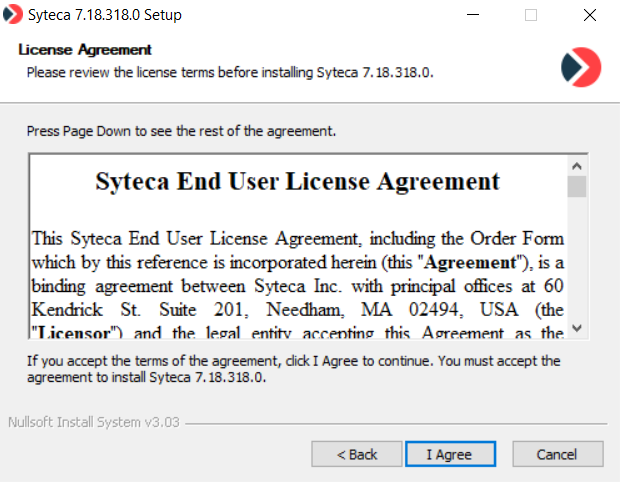
3. On the License Agreement page, read the End User License Agreement carefully, and then click I agree.
4. On the Choose the Installation Mode page, if this is the initial installation of the Application Server, make sure that the New Syteca Application Server option is selected, and then click Next.
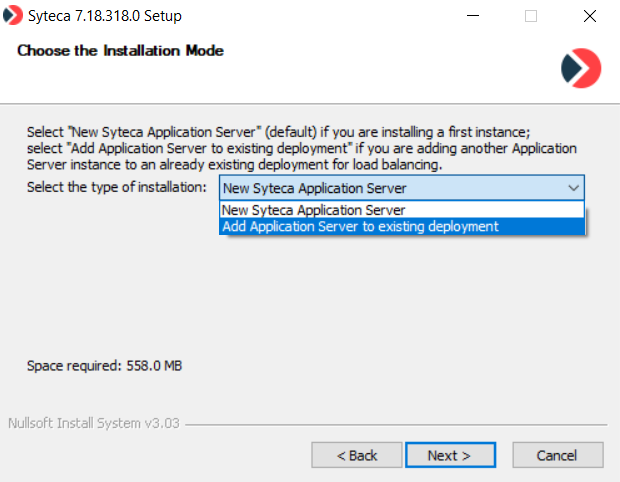
NOTE: After installation of the initial (new) Application Server, the “Add Application Server to existing deployment” option can be used later to subsequently install additional Application Server instances on multiple nodes, if required for large deployments.
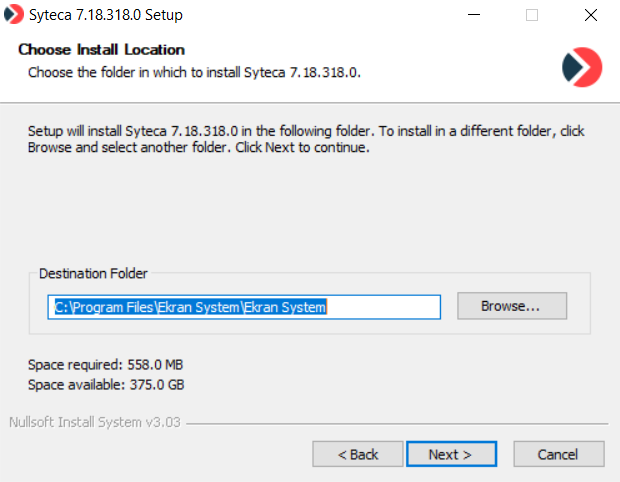
5. On the Choose Install Location page, enter the installation path or click Browse to navigate to the Application Server installation folder, and then click Next.
NOTE: If more than one Master Certificate (called EkranMasterCertificate) is detected in the certificate store (e.g. due to reinstallation of the Application Server), a warning message is displayed to the user, and installation cannot be performed until the unnecessary Master Certificates are deleted.
6. On the Syteca Master Certificate page, if the Application Server is being installed for the first time, select the Generate a new certificate option.
NOTE: Syteca uses the Syteca Master Certificate (called EkranMasterCertificate) for encryption, which must be generated during initial installation of Syteca Application Server. For large deployments requiring multiple instances of the Application Server, after installation of the initial Application Server, the “Use an existing certificate” option must be selected later when subsequently installing additional Application Server instances.
4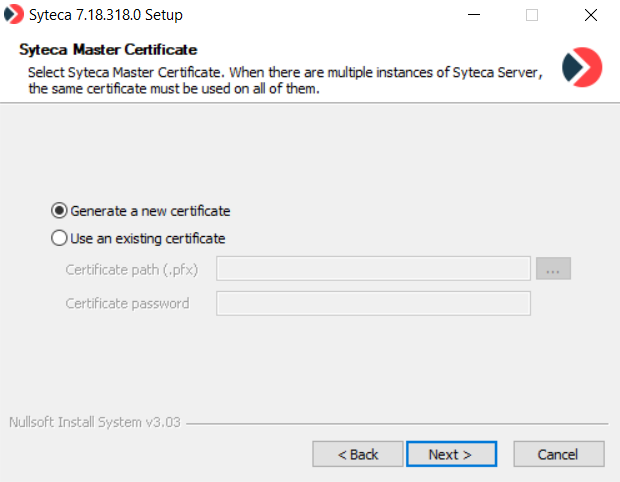
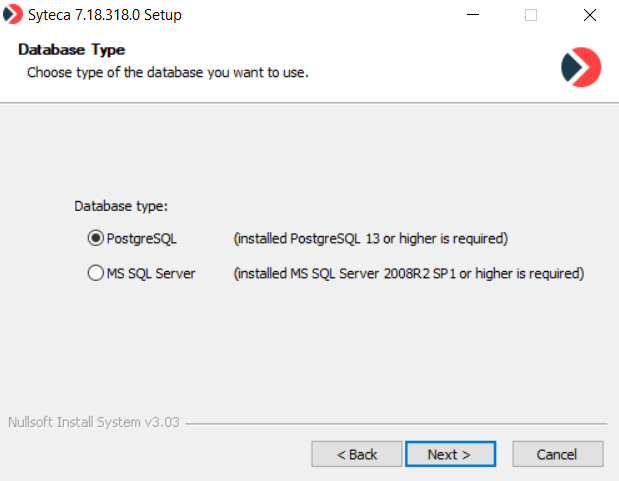
7. On the Database Type page, select the type of database you want to use for storing data, and then click Next (please refer to Comparison of Database Types to see the differences).
NOTE: If you have an existing database, select its type, and then define the connection parameters for this database.
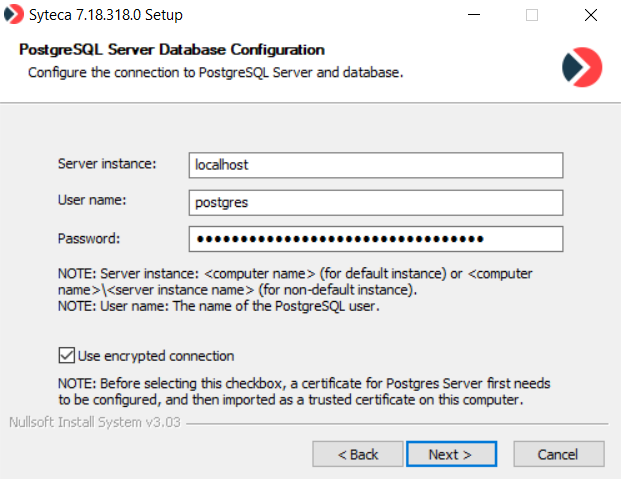
8. If you selected the PostgreSQL database, on the PostgreSQL Server Database Configuration page, define the connection parameters as follows, and then click Next:
• Enter the hostname or IP address of the PostgreSQL Server instance, which is the instance name assigned to the TCP/IP port. Optionally, you can define a custom PostgreSQL database port by entering its name after the Server instance name, separating them by a colon (e.g. <server_instance_name>:<port>).
NOTE: If the default instance of the PostgreSQL Server is used, enter “localhost” in the "Server instance" field.
• Enter the User name and Password of the user account via which the connection to the server will be established.
NOTE: By default, this is the user with the login “postgres”, and the password defined during installation of PostgreSQL.
• Select the Use encrypted connection checkbox to use SSL encryption for the connection between the Application Server and the database.
NOTE: Before selecting this checkbox, a certificate for the database server first needs to be configured, and then imported as a trusted certificate on this computer.
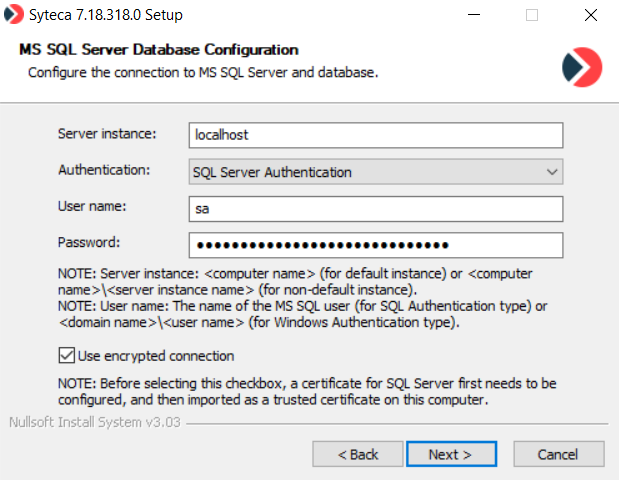
9. If you selected the MS SQL Server database, define the connection parameters as follows on the MS SQL Server Database Configuration page, and then click Next.
• Enter the hostname or IP address of the MS SQL Server instance, which is the instance name assigned to the TCP/IP port. Optionally, you can define a custom MS SQL Server database port by entering its name after the Server instance name, separating them by a comma (e.g. <server_instance_name>,<port>).
NOTE: If the default instance of the MS SQL Server is used, only the name of the machine where the MS SQL Server is located needs to be defined.
• Select the type of authentication required: SQL Server Authentication or Windows Authentication.
• When using SQL Server Authentication, enter the SQL Server User name and Password of the user account via which the connection to the server will be established.
NOTE: You must enter either “sa” (system administrator) credentials or the credentials of a user with the “dbcreator” permission.
• When using Windows Authentication, enter the User name as <domainname>\<user name>, and the Password.
NOTE: The specified user must have already been added as a user in MS SQL and have system administrator permissions.
• Select the Use encrypted connection checkbox to use SSL encryption for the connection between the Application Server and the database.
NOTE: Before selecting this checkbox, a certificate for the database server first needs to be configured, and then imported as a trusted certificate on this computer.
10. On the Binary Data Location page, define the location to be used to store the binary data (i.e. screen captures) recorded by Syteca Clients.
NOTE: The SQL Database option is not recommended unless used for small deployments, due to the large amount of data that will be accumulated over time.
4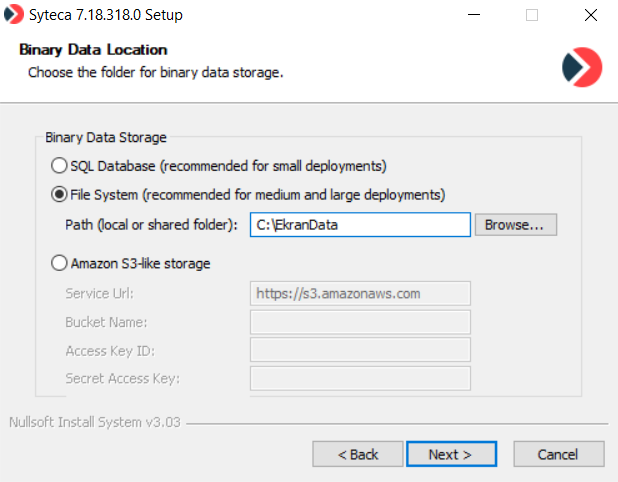
NOTE: More information can be found on the Editing the Database Parameters page, and for the "Amazon S3-like storage" option, more information can be found on the Configuring Syteca to Store Binary Data in Amazon S3 page.
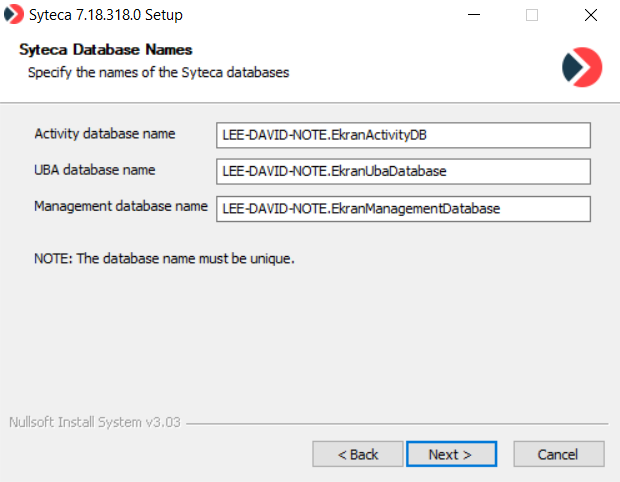
11. On the Syteca Database Names page, define unique names to be used for the Syteca databases.
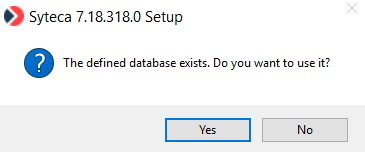
12. If the Syteca database (i.e. actually consisting of 3 separate databases) already exists, which was created either manually or when using previous installations of Syteca Application Server, you will be offered to use it. If you want to use the existing database, click Yes. Otherwise, click No and a new database will be created.
NOTE: If you click No, the existing database will be deleted.
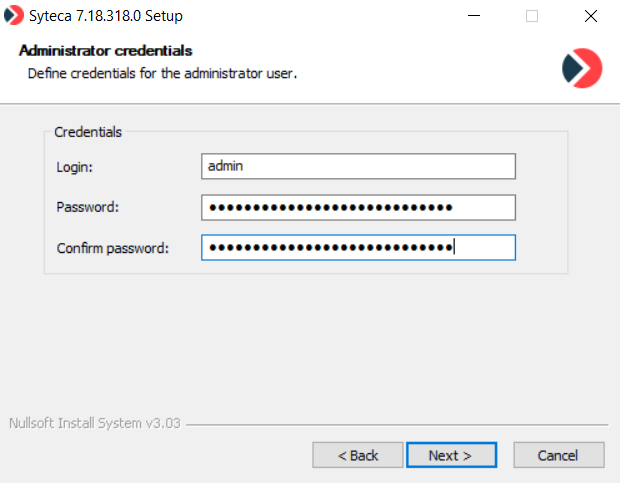
13. On the Administrator credentials page, define the credentials to be used for the administrator user of Syteca (i.e. the admin user of the built-in default tenant, who has full system permissions) in the corresponding fields as follows, and then click Next:
• Login: Optionally change the login name from the default name “admin” (where the login name can be from 5 to 50 characters long, and only contain letters and numbers, or can be an email address).
• Password and Confirm password: Enter a password (where the password must be at least 8 characters long, and contain at least one lowercase letter, one uppercase letter, one numeric character, and one special character, and cannot contain more than 3 consecutive identical characters).
NOTE: These credentials can be changed at any time later in the Management Tool (on the User Mangement page) by editing the administrator user.
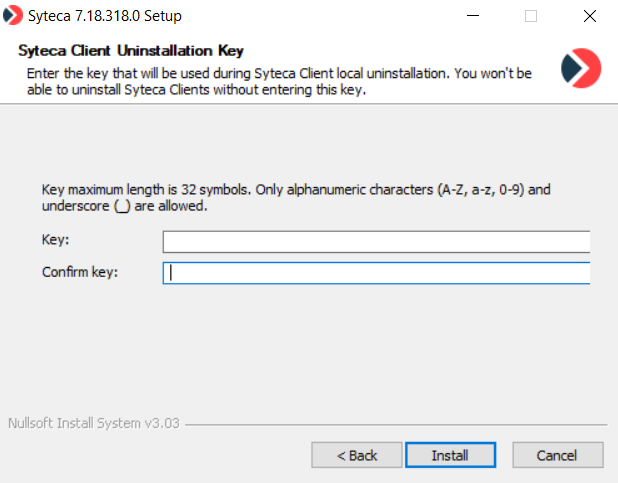
14. On the Syteca Client Uninstallation Key page, enter a key that will be used for uninstalling the Client locally, and then click Next.
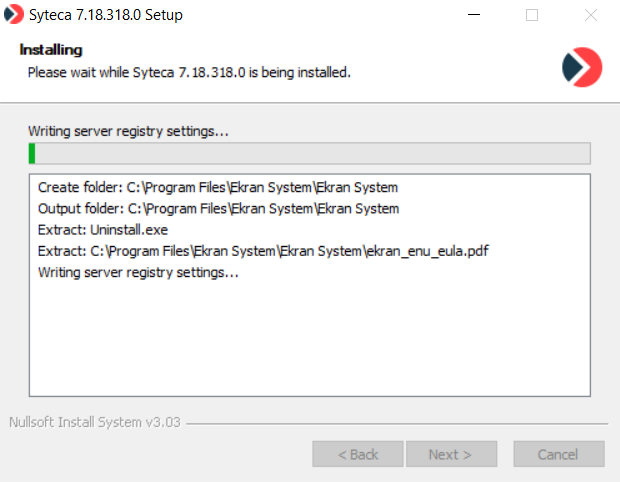
15. Click Install, and the progress of the installation will then be displayed on the Installing page.
16. When installation is complete, click Finish to exit the Setup wizard.

NOTE: If you are installing Syteca Application Server for the first time, back up the Syteca Master Certificate. The backup copy of the certificate may be needed later for Application Server recovery, or while updating the system.
NOTE: If you already have a backup copy of the Master Certificate and are reusing the database, delete the Master Certificate, and import the backup copy to use instead.
NOTE: In Windows Firewall, you must allow the Application Server executable to accept TCP connections via ports 9447 (for the connection between the Application Server and the Clients), 22712, 22713, and 22714 (for the connection between the Application Server and the Management Tool). These rules will be added to Windows Firewall automatically if Windows Firewall is enabled during installation of the Application Server.